The rental contract screen is the main dialog used to process a rental. It is important that the rental pricing and rental items are created and set up before a contract is created. Review the Getting Started > Creating Rental Service Codes before a contract is created. Review the Rental Pricing section of this manual for more details on rental pricing.
The contract dialog can be used to manage a rental through the following rental states:
Reserved - this step is used to reserve rental equipment for a specific date and time. This step can be ignored if reservations were not made or if the reservation and checkout were done at the same time.
Checked Out - A rental contract is generated at the time the rental equipment is checked out by the customer. The rental contract is printed during this step. Additional consumables can be added to the contract at checkout. Review the Reserving and Checking Out a Rental section for details on this step.
Returned - The equipment within a contract should be processed as returned when the customer returns the equipment. This will cause the equipment status to immediately be changed to Available for Rent or Sale so the item can be rented to another customer. Review the Returning and Invoicing a Rental for more details on this step.
Invoiced - An invoice for the rental is created from the rental contract for billing. The customer can be billed periodically for items that are rented for an extended amount of time. Review the Billing a Rental for more details on this status.
The status of the rental equipment can be as follows:
Available for rent or sale - The status indicates that the rental equipment is in stock. The equipment status will be in this state as soon as the purchase invoice is processed or the item is properly added. Continue with this section for more details on viewing and adding the individual pieces of equipment for rent or sale.
Reserved for Sale - The equipment status is set to be reserved for sale when the item is added to a sales invoice. Review the Selling Rental Equipment section for more details on adding rental equipment to a sales invoice.
Reserved for Rent - This status indicates that the item is listed on a rental contract but has not been checked out. The Reserved status of the rental contract will set the equipment listed on the contract to the Reserved for Rent status.
Out - The equipment is listed on a rental contract that has been checked out. See the rental contract's Checked Out status listed above.
Sold - The equipment has been sold.
Service Only - The status of rental equipment should never have this status setting. If it does, the equipment was wrongly entered into EBMS. For more on this status for standard serialized items, review the Serialized Items > Selling and/or Associating an Item with a Customer > Viewing or Adding Items to the Customer Tab section of the Inventory documentation.
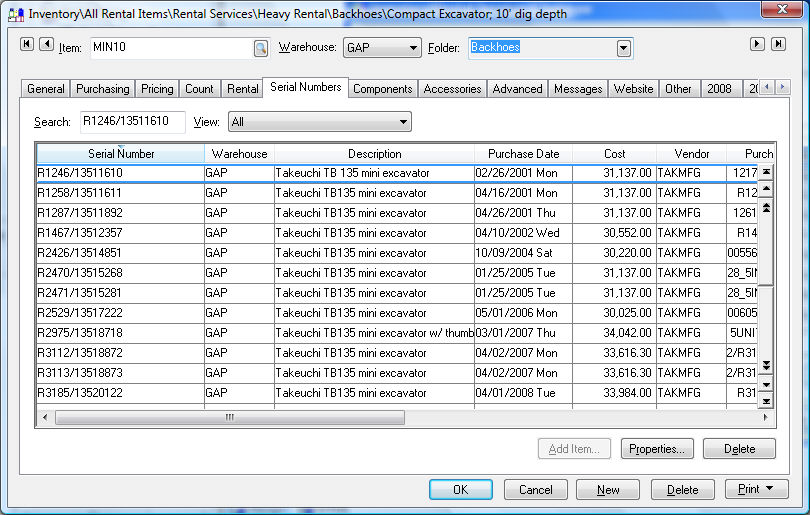
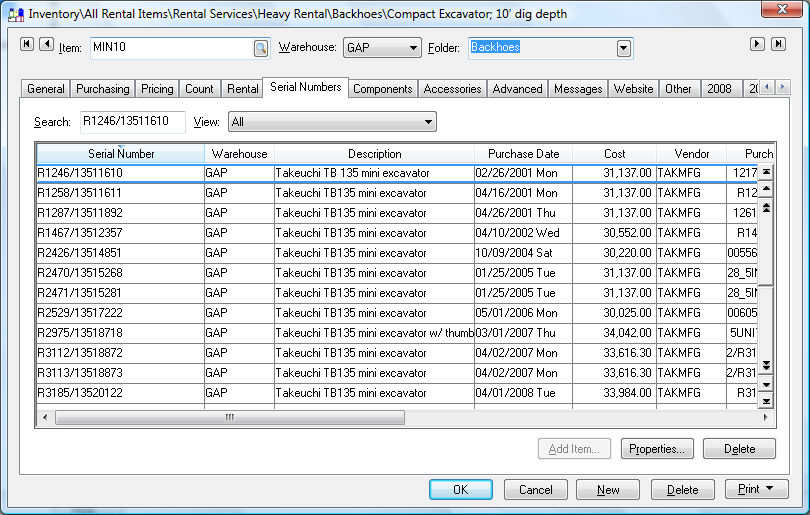
The status of the equipment can be viewed within the Serial Numbers tab of any rental service item. This tab allows the user to view the status of all the equipment that is linked to the specific rental service code. Open a rental service item classified as rental and click on the Serial Numbers tab as shown below:

Set the View option as All to view all the equipment available within the rental item.
Equipment is connected to the rental service item using one of the following 2 methods:
Equipment will manually need to be added during the initial rental system setup. Review the steps 12 - 17 within the Entering Rental Equipment section.
Equipment should be added to the rental system at the time the equipment is purchased or removed from inventory. Review the Managing Rental Equipment > Purchasing Rental Equipment section for more details.
Serialized equipment can be transferred from stock inventory using the following steps. Only use this method if the equipment is stocked to sale but a unit was pulled from inventory to use for rental purposes.
Open the inventory item that contains the equipment that is available for sale. This should be the inventory code you use when you sell the stock items.

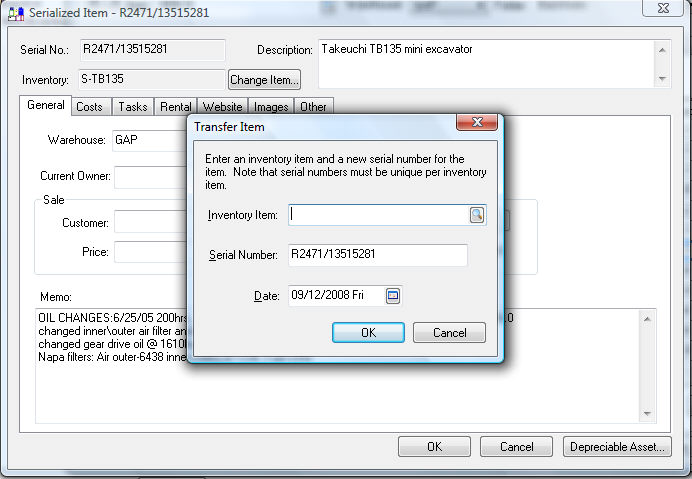
Select the desired unit based on the Serial Number and click on Properties to open the following dialog:

Click on the Change Item button to the right of the Inventory ID.
Select the rental equipment Inventory Item from the transfer item dialog. Review the Getting Started > Entering Rental Equipment section for more details on rental equipment codes. Enter the Date for the inventory transfer general ledger transactions and click OK.
The user may wish to change the description of the item to reflect the fact that it is being rented.
Non-serialized items can be moved to a rental item using the expense invoice or the manufacturing dialog.