The rental equipment codes are used to record the equipment that is purchased or manufactured for rental use. For example, a rental equipment code is created to record the purchase of a lawn mower that is purchased as a rental. This inventory code is not to be confused with the rental service code that is discussed in the Creating Rental Service Codes section.
Complete the following steps to create a rental equipment item:
Open the inventory item list by selecting Product Catalog from the main Inventory menu.
Select Edit > New from the main menu to start the new inventory wizard (clicking New within the inventory Item window will also activate the new wizard).
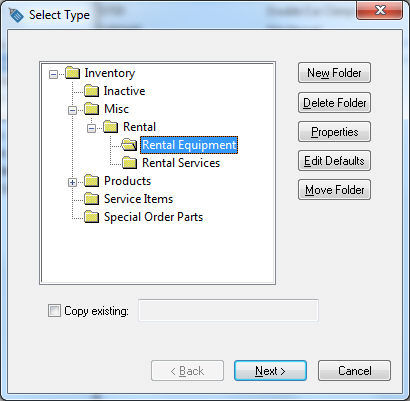
Highlight the folder in which you want to place the new inventory item and click Next. Review the Inventory Folders for Rental Items section for more details on creating new folders.
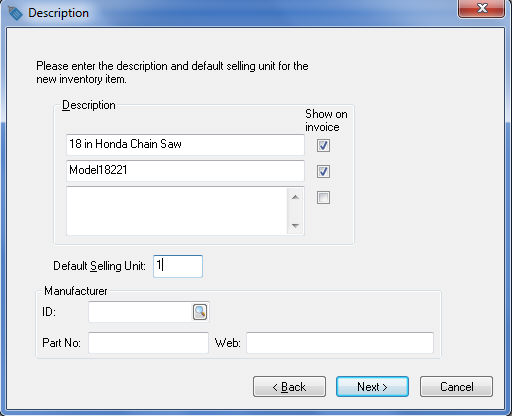
Enter a Description of the equipment that is being purchased to rent. Click the Next button to continue to the Information page.
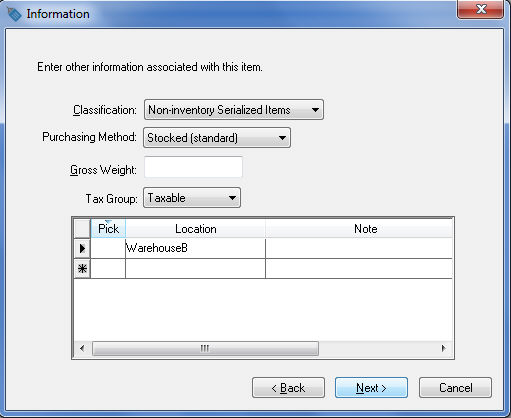
The following three Classifications are used for rental equipment:
Non-inventory Serialized Items - this classification should be used for most equipment such as vehicles, power equipment, and other serialized items. Any rental equipment that has a serial number, VIN number, or other number attached to the item should be classified as Non-inventory Serialized Items. This classification is the most common classification used for rental equipment.
Track Count - This classification should be used for rental items that are not identified individually, including Items like attachments, hand tools, and other general rental items.
No Count - This classification should only be used for miscellaneous items without a distinct number of items available. For example, a company that has a large number of chains, scaffolding, or other supplies that are not limited to a specific number of rentals would use this classification.
Enter the Location of the rental items if applicable and set the proper Taxable setting. Ignore the Gross Weight entry for rental service codes. Review the Inventory Items > Entering New Inventory Items section of the Inventory manual for more details on these entries. Press Next to continue.
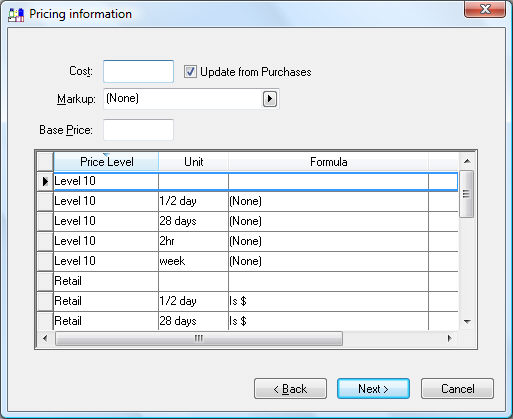
The Pricing settings of the rental equipment items can be ignored unless the user wishes to maintain the current selling price of the rental equipment. Review the Inventory > Pricing section of the Inventory manual for more details on pricing options. Click Next to continue.
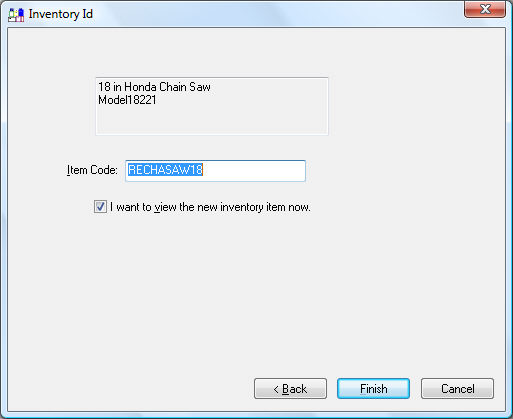
Enter an Item Code for the rental equipment. Enable the I want to view the new inventory item now option to enter the serialized item details. Click the Finish button to open the inventory item.
Click on the Change button to the right of the Rental Item field to open the Change Rental Item dialog as shown below:
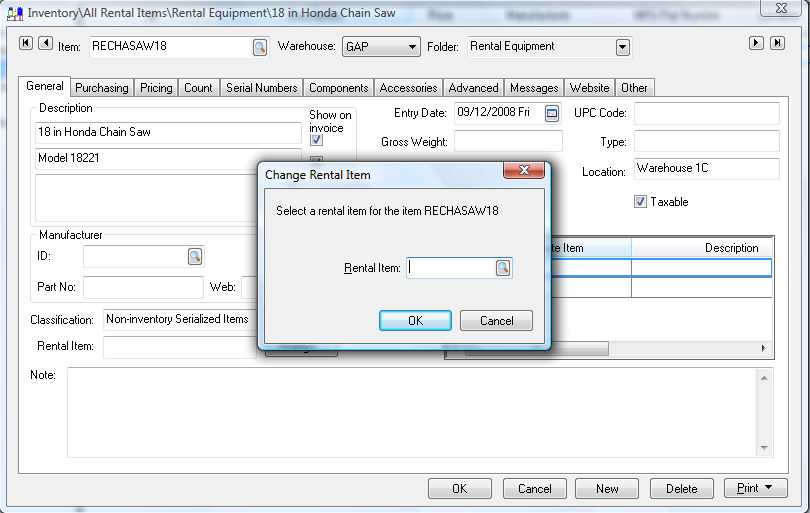
Select the Rental service Item that will be used to rent this equipment and click OK. Review the Creating Rental Service Codes section for more details on the rental service code.
Click on the Advanced
tab to set the purchase and sale general ledger code of all
rental items that are being depreciated as shown below:
Enter the sale of asset general ledger account into the Sales entry so the disposal of the depreciable asset is processed when the item is sold. Review [Financials] Fixed Assets and Depreciation > Disposing Assets > Selling Assets within a Sales Invoice for more details on how the sale of asset general ledger code launches the depreciable asset deposal process.
Enter the depreciable rental asset general ledger code under the Purchase GL code: Review [Financials] Fixed Assets and Depreciation > Fixed Assets > Adding Assets > Adding Assets using an Expense Invoice for more details on how the depreciable asset general ledger code launches the add depreciation wizard.
Note that the Inventory Asset general ledger code is disabled since the product is being depreciated rather than recorded as inventory.
The following steps are only necessary for Rental Equipment that is classified as Non-Inventory Serialized Items. You can ignore these steps for all items classified as Track Count or No Count.
Click on the Serial Numbers tab to enter the details for each serialized item.
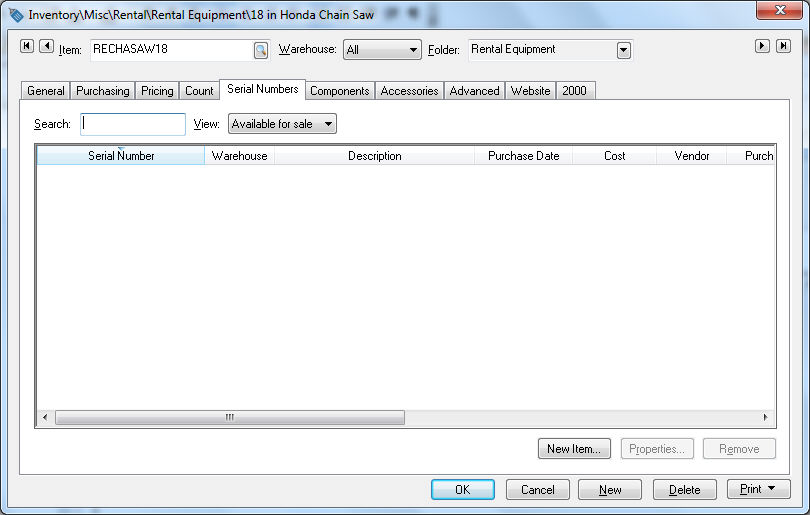
Non-inventory serialized items require an extra step to enter the information for the individual pieces of equipment. For example, if the company rents multiple 18 in. Honda chain saws to rent, the product details for each chain saw should be entered as well as the serial number, VIN number, or other unique identifier.
New equipment is normally entered as a rental item by using the purchasing steps. Review the Managing Rental Equipment > Purchasing Rental Items section for more details. Continue with the following steps to enter the rental equipment during the initial setup period.
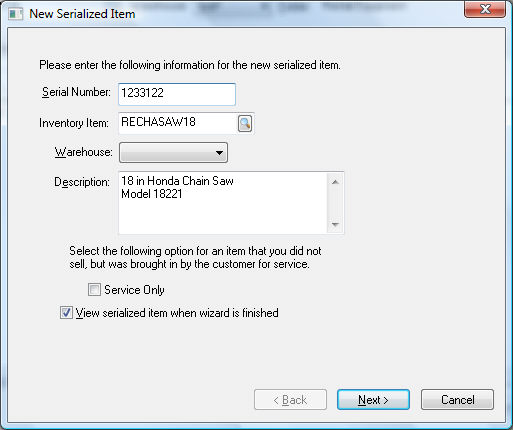
Click on the New Item button to add each piece of equipment.

Enter the Serial Number of the rental equipment. This unique code can be a VIN number or other unique identifier of the equipment. Click the Next button to continue.
This wizard is used to create a fixed depreciation asset within EBMS. The user is encouraged to install the EBMS Depreciation module when using the rental system. Review the Depreciation section of the main documentation for details about depreciable assets.
Select the appropriate asset folder and click Next to continue. Review the Depreciation > Getting Starting > Adding and Deleting Asset Folders section of the main manual.
Refer to the Depreciation > Getting Started > Entering Existing Depreciable Assets section of the main manual for detailed instructions on the remainder of the new depreciation asset wizard.
Repeat steps 13 - 16 for the each additional piece of equipment. Only similar equipment should be entered using the same rental equipment inventory ID.
Review Rental Contacts > Scanning Serialized Rental Equipment for instructions to associate barcodes to rental equipment.
Refer to the Managing Rental Equipment > Purchasing Rental Items and the Managing Rental Equipment > Selling Rental Items sections for more details in adding and removing rental equipment.