A rental contact is created when a customer reserves or checks out any rental equipment. A contract can be created using one of the following two methods:
Launch the Rental > Availability Wizard from the EBMS menu. This option allows the user to identify the availability of the equipment that is being requested before identifying the customer or contract details.
Open the rental dialog by selecting Rental > Contract from the EBMS menu. This option must be used to open or add to existing contracts. This approach is recommended if the customer was identified before the rental equipment was selected.
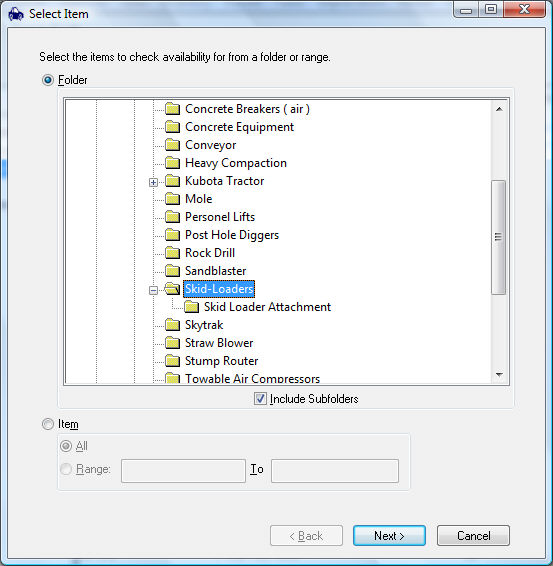
Launch the availability wizard by selecting Rental > Availability Wizard from the EBMS menu as shown below:
Select one of the following selection options:
Select Folder to view the availability of a group of items organized within a folder or subfolders. Notice that the attachments are located within a subfolder in the example shown above. Since the Include Subfolders option is enabled, the items within the subfolder Skid Loader Attachment will be included in the list of options.
Select the Item option to select by inventory code range.
Click on the Next button to continue.
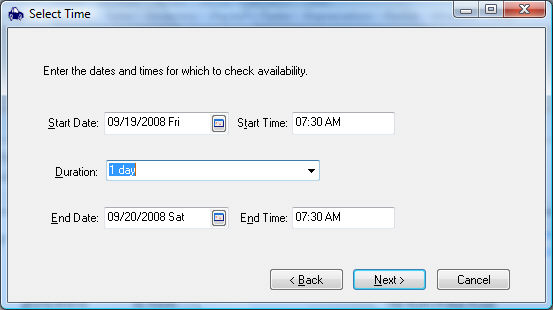
Enter the requested time period for the rental item.
The Start Date and Start Time will default to the current date and time. This time can be altered by the user.
The Duration is calculated from the End Date and End Time. The End Date and End Time settings are changed if the user changes the Duration setting. Click Next to continue.
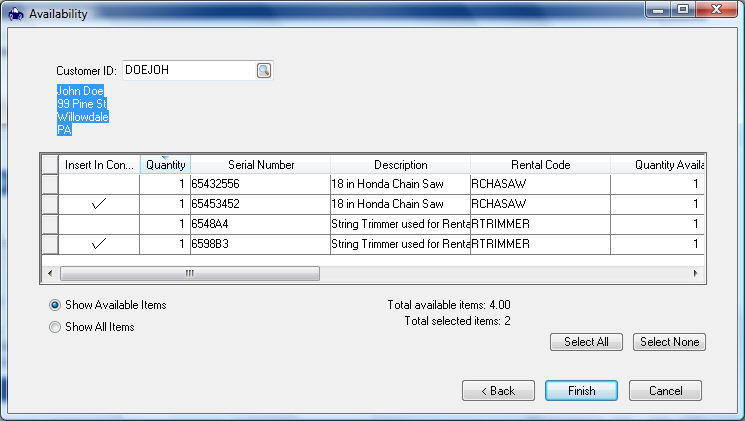
Enter the Customer ID of the customer who is reserving the equipment. Enter a Misc customer to view availability before the current customer is entered.
Select Show Available Items option to view only the items within the previously defined criteria that are available for rental.
Click on the Show All Items to view items including those that are not available.
Click the Back button to change criteria.
Click on the Finish button to open the rental contract. Continue with this section for details on adding additional items, attachments, or consumables to the rental contract.
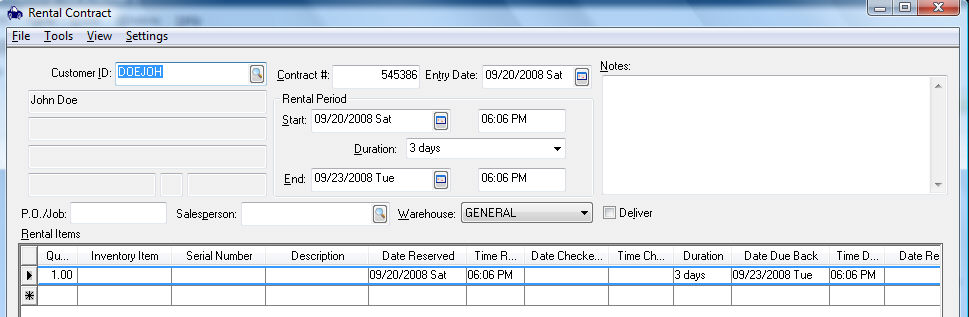
Select Rental > Contract to open the contract dialog as shown below:
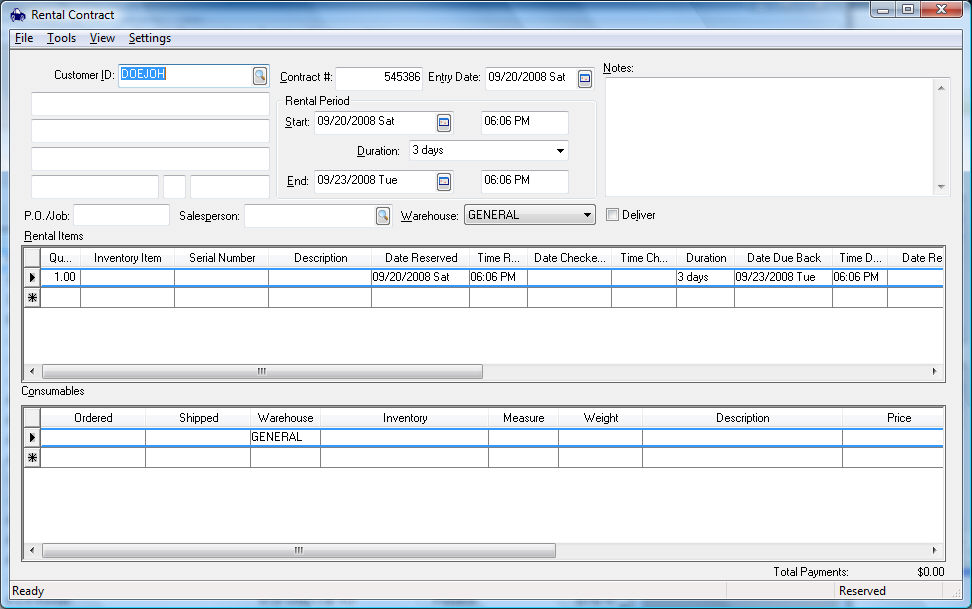
Enter the Customer ID similar to a sales invoice. The following dialog will appear on the screen only if an existing contract is open:
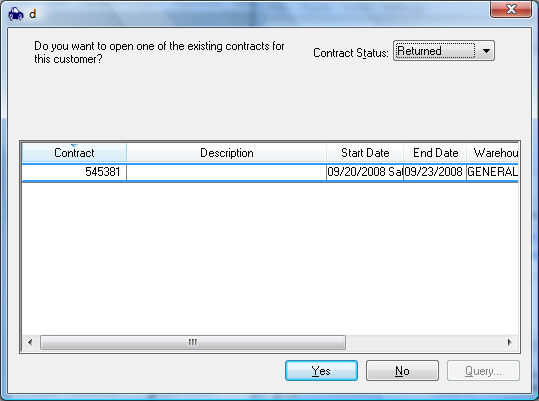
Select an exiting contract from the list or click the No button to create a new contract.
The Contract # is created using the same value as a sales order or sales invoice number. The Next Invoice Number can be viewed or changed in the Sales > Options > Invoices and S.O. tab.
The Entry Date records the date the contract was created. This date defaults to the date the contract was created. This date has no affect on scheduling rentals or billing transactions.
The Rental Period settings are used to reserve equipment for a specific time period. These entries can be ignored if the rental equipment is checked out immediately. Complete the following steps to reserve the equipment before checkout:
Enter the Start date. A day of a week can be typed in the date field or the calendar button clicked. The Calendar button is located on the right side of any date field.
Enter Time if the rental is reserved at a specific time.
Select a Duration option or type the duration. The duration consists of a decimal number and the time label. The label options are minutes, hours, weeks, months, and years.

Enter the customer's PO# (Purchase Order) or Job number or code for this rental. Keep this field blank if no purchase order is used.
The Sales Person field should reflect the salesperson that created the contract. This entry can be used to process commissions. Review the Sales > Salesperson Commissions section of the sales documentation for more details. To default this field to the user name used in the EBMS Login process, switch the Default sales person to User Name tab ON in Sales > Options > Invoice/S.O. tab - User Preferences.
Enable the Deliver option if the rental requires delivery. Review the Managing Rental Deliveries section for more details on delivering rentals.
Enter the Job ID and Stage information if the rental is billed to a job rather than billed to a customer. Review Billing a Rental to a Job for more details on this billing option.
Complete the following steps to list the equipment that is being rented:
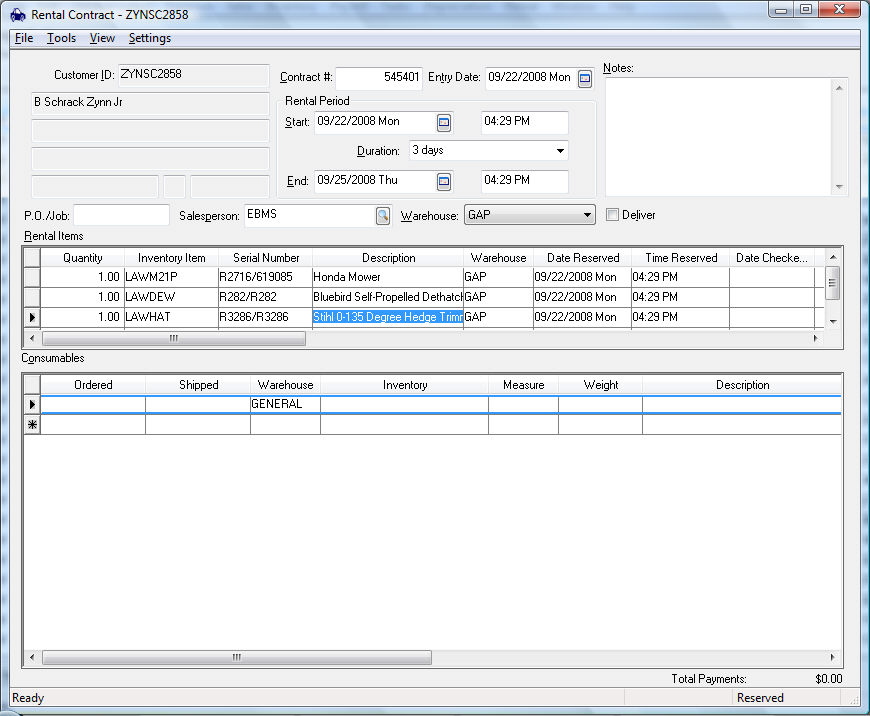
Select the rental item from the Product Catalog column or enter the Serial Number of the actual equipment. The Product Catalog may be selected from a list by clicking on the lookup button. If the Inventory Item is entered, the first available serial number will be displayed. Click on the lookup button to view all the available serialized items connected to a specific rental service item. Review the Getting Started > Creating Rental Service Codes section for details on creating rental codes. The Serial Number column can be ignored if the equipment being rented is not serialized.
The Date Reserved and Time Reserved is copied from the Rental Period entries on the header of the rental contract. These columns can be ignored and hidden if the rental equipment is not reserved but is being checked out immediately. Review the Standard Features > Column Appearance section of the main manual for more details on hiding columns.
The rental costs are shown within the Total column for each rental item. This column is found to the right of the Date and Time Due Back, Date and Time Returned columns. The Total price is calculated from the Duration setting of each rental item.
The Duration column is copied from the Duration setting on the header of the contract. The user can change the Duration for each rental item individually or change the Duration setting in the Rental Period settings within the header of the contract to change the Duration of all the items.
The rental Rate is set based on the lowest available rate for the Duration period. Right-click on any rental item line and select View Rate Table from the context menu as shown below:

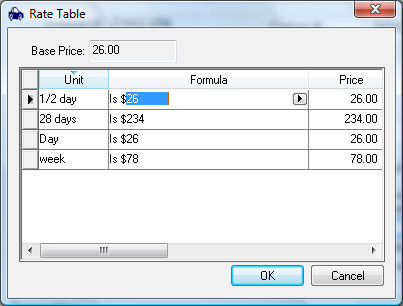
Click on the Explain Rental Charge option to view the formulas used to calculate the rental charge. Review the Rental Pricing Overview section for more on rental pricing.
Add any desired consumables to the Consumables list at the bottom of the contract dialog. Enter the consumables in the same manner as a sales invoice.
Review Rental Contacts > Scanning Serialized Rental Equipment for instructions to associate barcodes to rental equipment.
Complete the following steps to check out a rental:
Select Tools > Check Out All option from the contract menu and the following dialog will open:
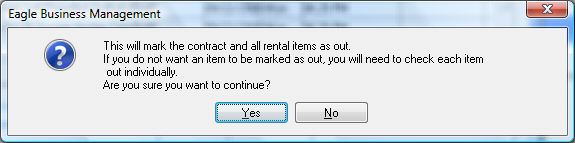
Click the Yes button to check out all items. Items can be checked out individually by setting the Date Checked Out and Time Checked Out for individual lines and then enabling the Check Out option. The Check Out option is located at the right side of the detail lines with the other status options.
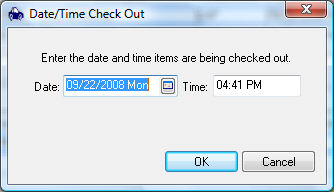
Set the check out Date and Time click the OK button. The Date and Time will default to the current date and time.
Some equipment will require the user to enter Hour Meter readings or Micrometer readings during checkout. The following dialog will appear if there is a value in the Max Hours and Max Micrometer column within the pricing tab of the rental item:
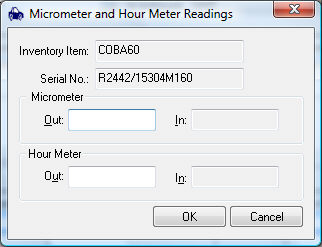
Review the Rental Pricing > Rental Pricing section for more details on pricing based on an hour meter or micrometer on a piece of equipment.
The checkout process enables the Check Out column. The Date and Time Checked Out and Duration entries cannot be changed after the Check Out option is enabled. To change these entries or undo the checkout process, disable the Check Out option. Select Tools > Change Due Back Time from the rental contract menu to change the Due Back settings.
Select File > Down Payment from the contract menu to process any payments applied to the rental contract. Any payment applied to a contract will be accounted within the EBMS software as a down payment. Review the Sales > Invoices > Payment Methods and Terms section of the sales documentation for more details on down payments.
Select the File > Save and Print option to print the rental contract. Use the F3 key as a shortcut. Use the File > Print option to open the print dialog to set the default printer.

Go to Rental > Options and click on the Reports tab as shown below:
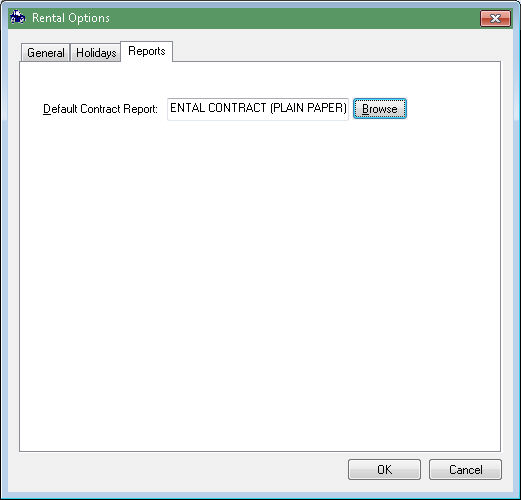
Select a Default Contract Report from the form options within the Rental folder. Click Browse to select the desired report. Go to Reports section of the main documentation for more details on reports.
The rental contract is not an invoice. Continue with the next section for details on returning rentals and processing the invoice.