Creating a Generic Customer
Most retail e-commerce websites allow the user to purchase product without
a membership or user account. The EBMS e-commerce uses a generic customer
setup to determine the shipping options, terms, and other details for
customers that do not log into the website. A generic customer is required
for an e-commerce website.
Create a customer record with a generic Customer Id such
as WEBSITE as shown below. Review Customers
> Adding a New Customer for detailed instructions on creating
a new customer.
Keep the contact information blank as shown above.
Any Information entered on this customer is shown as defaults
on the website checkout. For example, Country
may be defaulted to USA or the Include
in Mailing List can be enabled by default.
Set the Price Level for the standard web pricing. The
retail or list price is normally used. Create a new web price level
if the pricing on the web is not equal to any standard price level.
Review the Inventory
> Pricing > Default Pricing and Price levels section of
the inventory documentation for more details on creating price levels.
Click on the Terms tab as shown below:
The settings within the Terms tab determines what payment
options are available for customers that do not log into the site.
Review Customer Portal for more
details on customer login options and requirements.
Enable the Credit Card option to allow credit card
payments. The Cash and Check options do not apply
to an e-commerce site.
Enable the Charge option only if you allow other
payment types such as COD.
Disable the Default as Charge option since the default
payment setting should be Credit Card. This setting has
no effect if the Charge option is disabled.
The Due payment terms setting is only set if the
Charge payment option is enabled. A possible Due
option may be Collect on Delivery as shown above.
This option would offer a COD payment option for customers with
no account. Note that net terms should not be an options without
require an account.
Review the Configuring the Shopping
Cart > Payment Options section for more details on configuring
payment options.
Set the default Shipping Method. This option will
default the shipping method within the shopping cart to the selected
shipping option within EBMS. Review the Shipping
Options section for more details. Review the Sales
> Customers > Changing Customer Information section of the
Sales documentation for more details on customer settings. Click OK
to save the customer settings for the generic customer.
Select Sales > Web > the address of your website
from the main EBMS menu to open the following dialog:
Enter the generic customer id into the Default Website
Customer entry.
Orders that are placed using the generic customers will be synced from
the web with the generic ID within the sales order. The billing name and
address will be placed within the sales order similar to a miscellaneous
customer entry.
The customer ID can be changed within the sales order either automatically
or manually.
User Created
Click on the New Accounts tab and enable the Allow web user
to create a new customer option to allow the user to create a new
customer account within EBMS from the website. Review the Advanced
Features > User Created Customer Accounts section for more details
on this option.
Automatically Create and Match New Accounts
Enable the Switch to existing customer if a matching e-mail
address is found. The system matches the e-mail address
that is contained on the order with all the contact fields within
the customer. The contact fields do not require a specific label.
Also if a customer selects Create a New Account from the website
and enters a email address on an existing EBMS account, the website
will prompt them to setup the website login under the existing account.
The matching criterion is not case sensitive.
Enable the Create new customer if no matching customer is
found option to automatically create a customer account if the
Customer Matching criteria is not true. The system will keep
the sales order listed under the generic customer if this option is
disabled. The customer id must be created automatically if this option
is enabled. Review the Standard
Features > Creating IDs section of the main EBMS manual for
more details on creating the customer ID automatically
The process to automatically create a new customer may result in redundant
customer accounts. A new account may be created rather than properly matched
because of typos, spelling differences, or other minor differences. Two
accounts can be merged by opening the customer account, right clicking
on the Customer id, and selecting Merge Customer Accounts.
Merge Accounts
Disable the Switch to existing customer if a matching email
address is found option and the Create new customer if no match
option.
Open the sales order that was synced from the web.
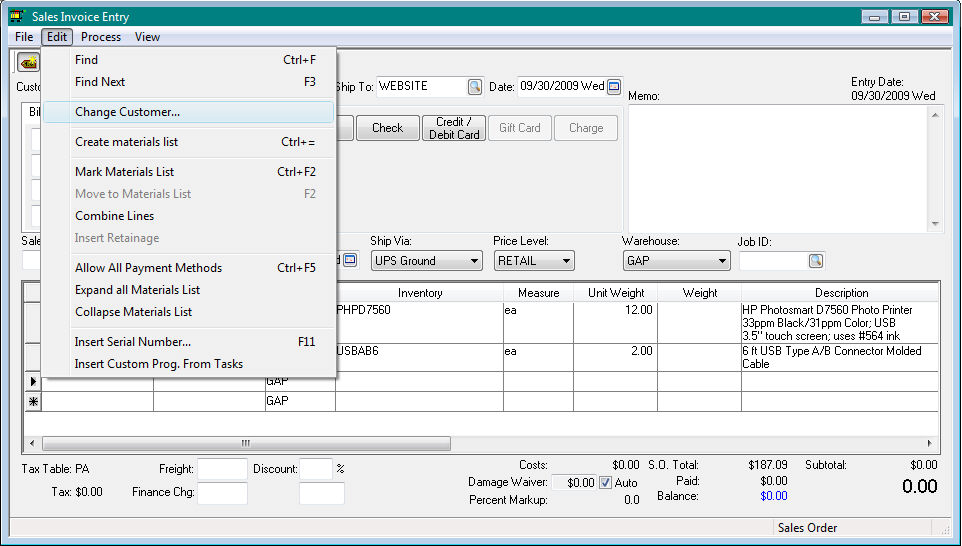
Select Edit > Change Customer from the sales order
menu and the following dialog will open:
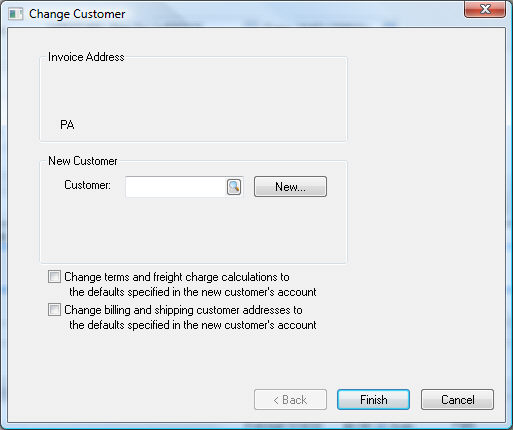
Enter the existing Customer Id.
The Change terms and freight and Change billing and
shipping customer options should be disabled to maintain the information
entered by the customer online.
Click the Finish button to complete the change.