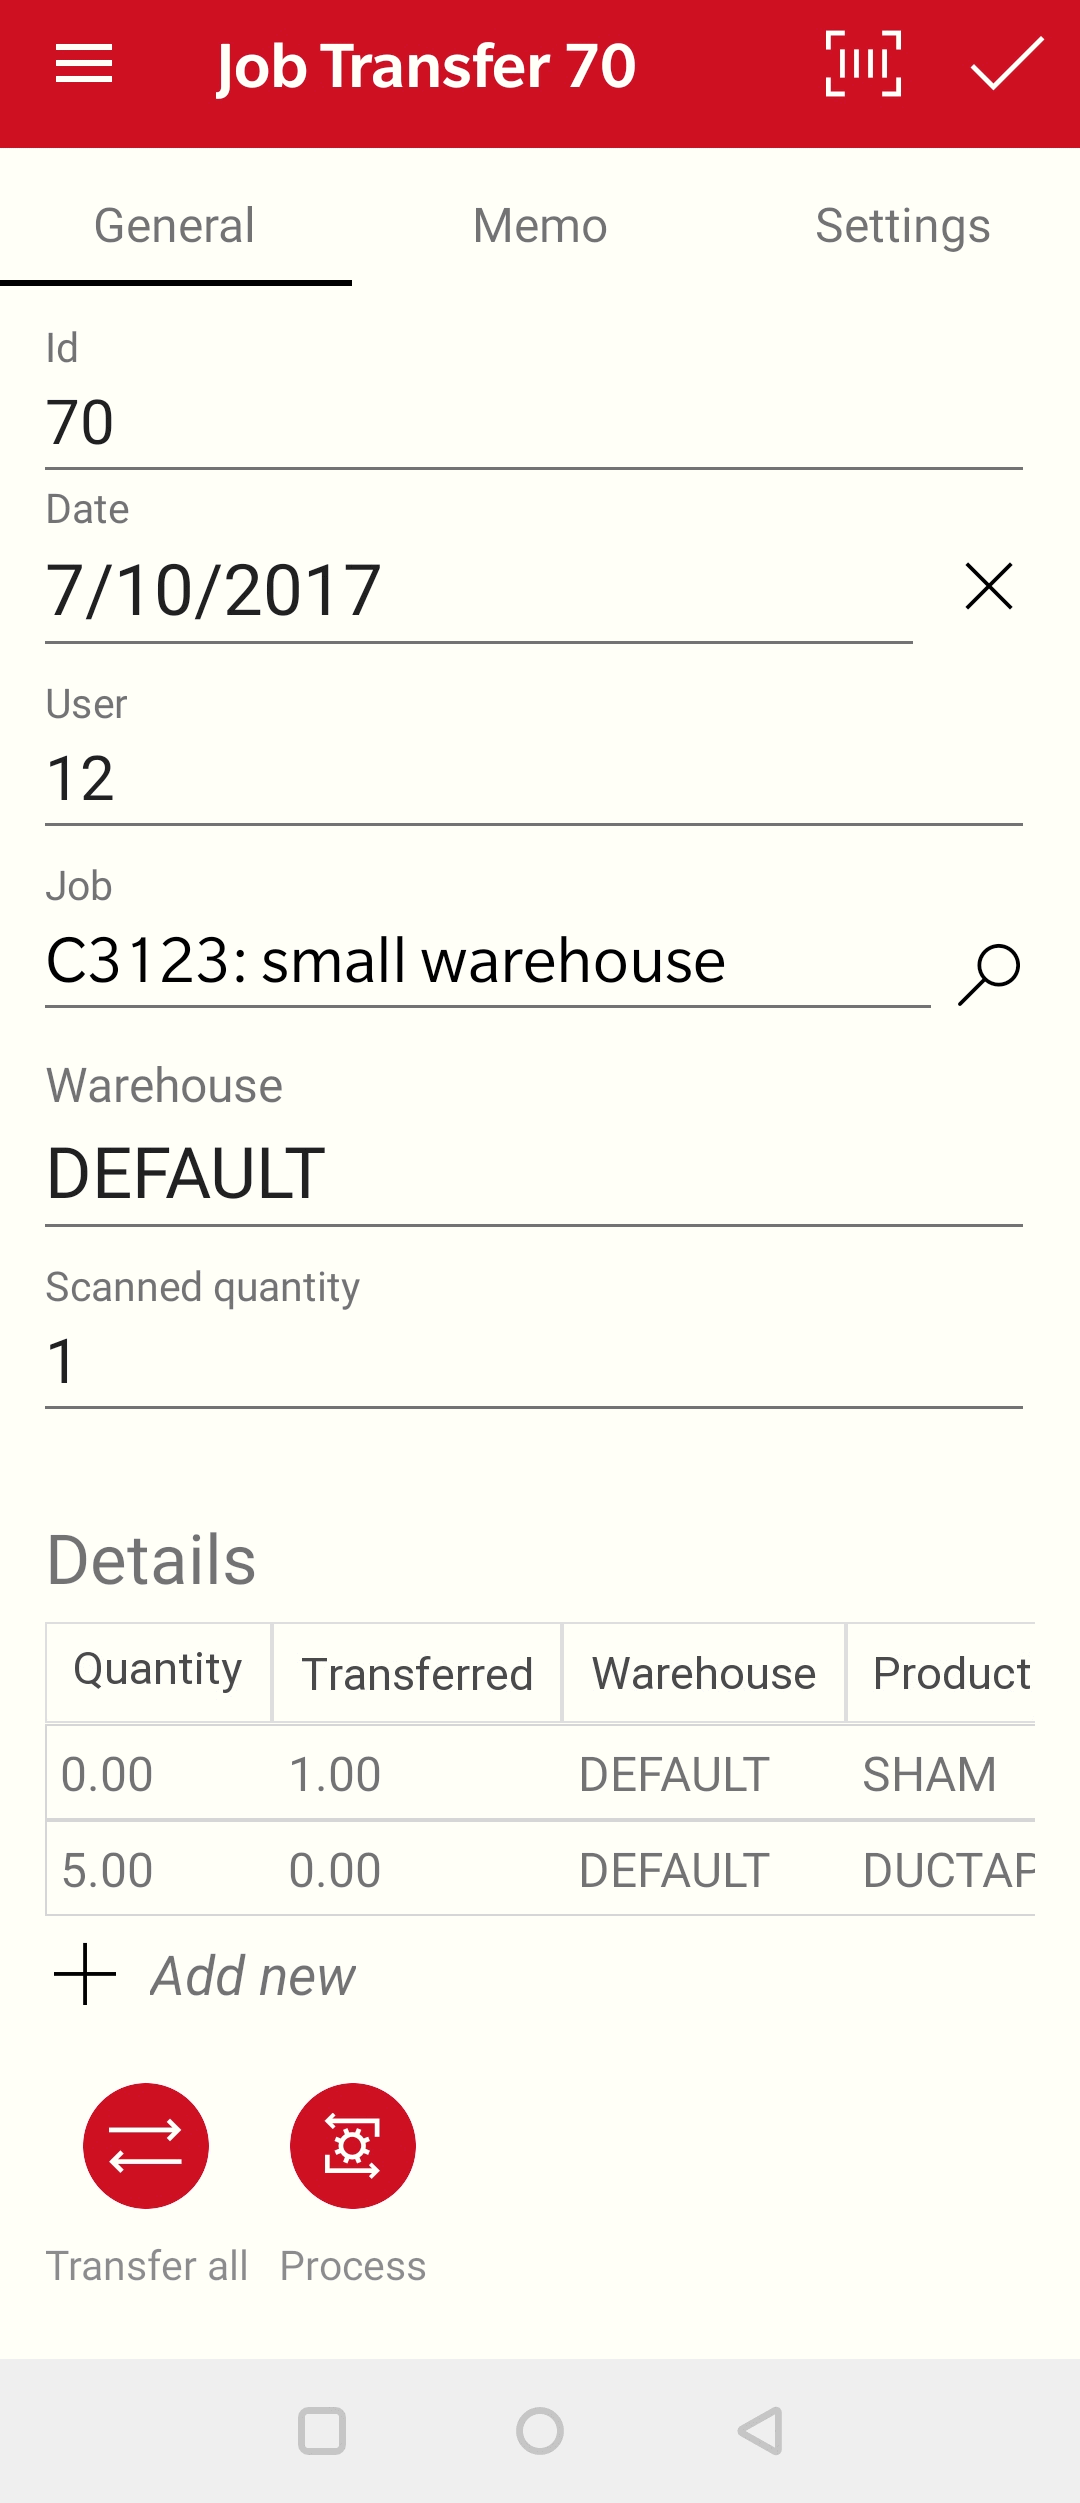
Select and open a job within MyJobs
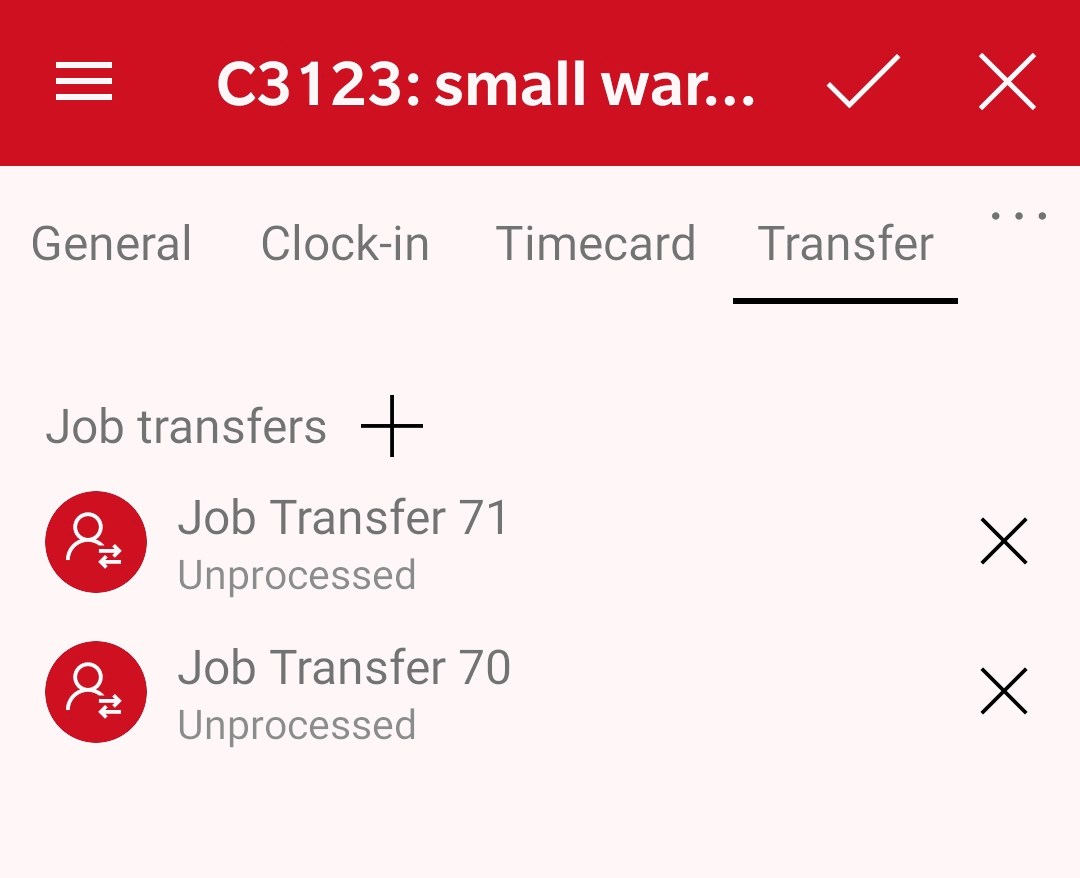
Tap Transfer to open the following
transfer list:
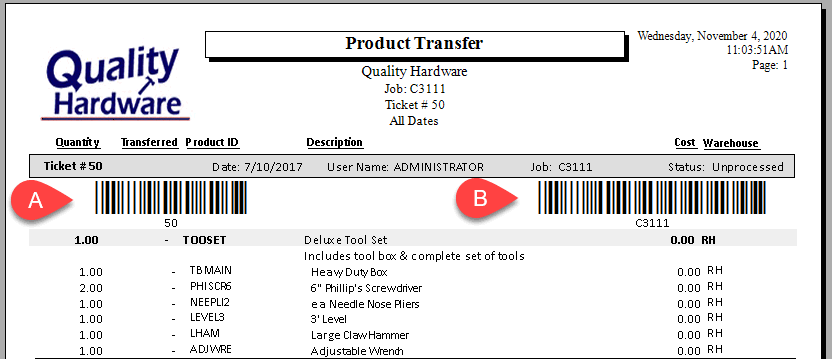
The following barcodes can be scanned to open or create a ticket from a product transfer report. Select report from the dialog.
Scan the transfer ticket barcode to open an existing transfer.
Scan the job costing barcode to create a new ticket or to scan the job for time tracking purposes.
Tap the camera button  on the
title bar to use the device camera to scan the barcodes.
Create a new ticket by touching  or open an
existing transfer ticket by entering the ticket number.
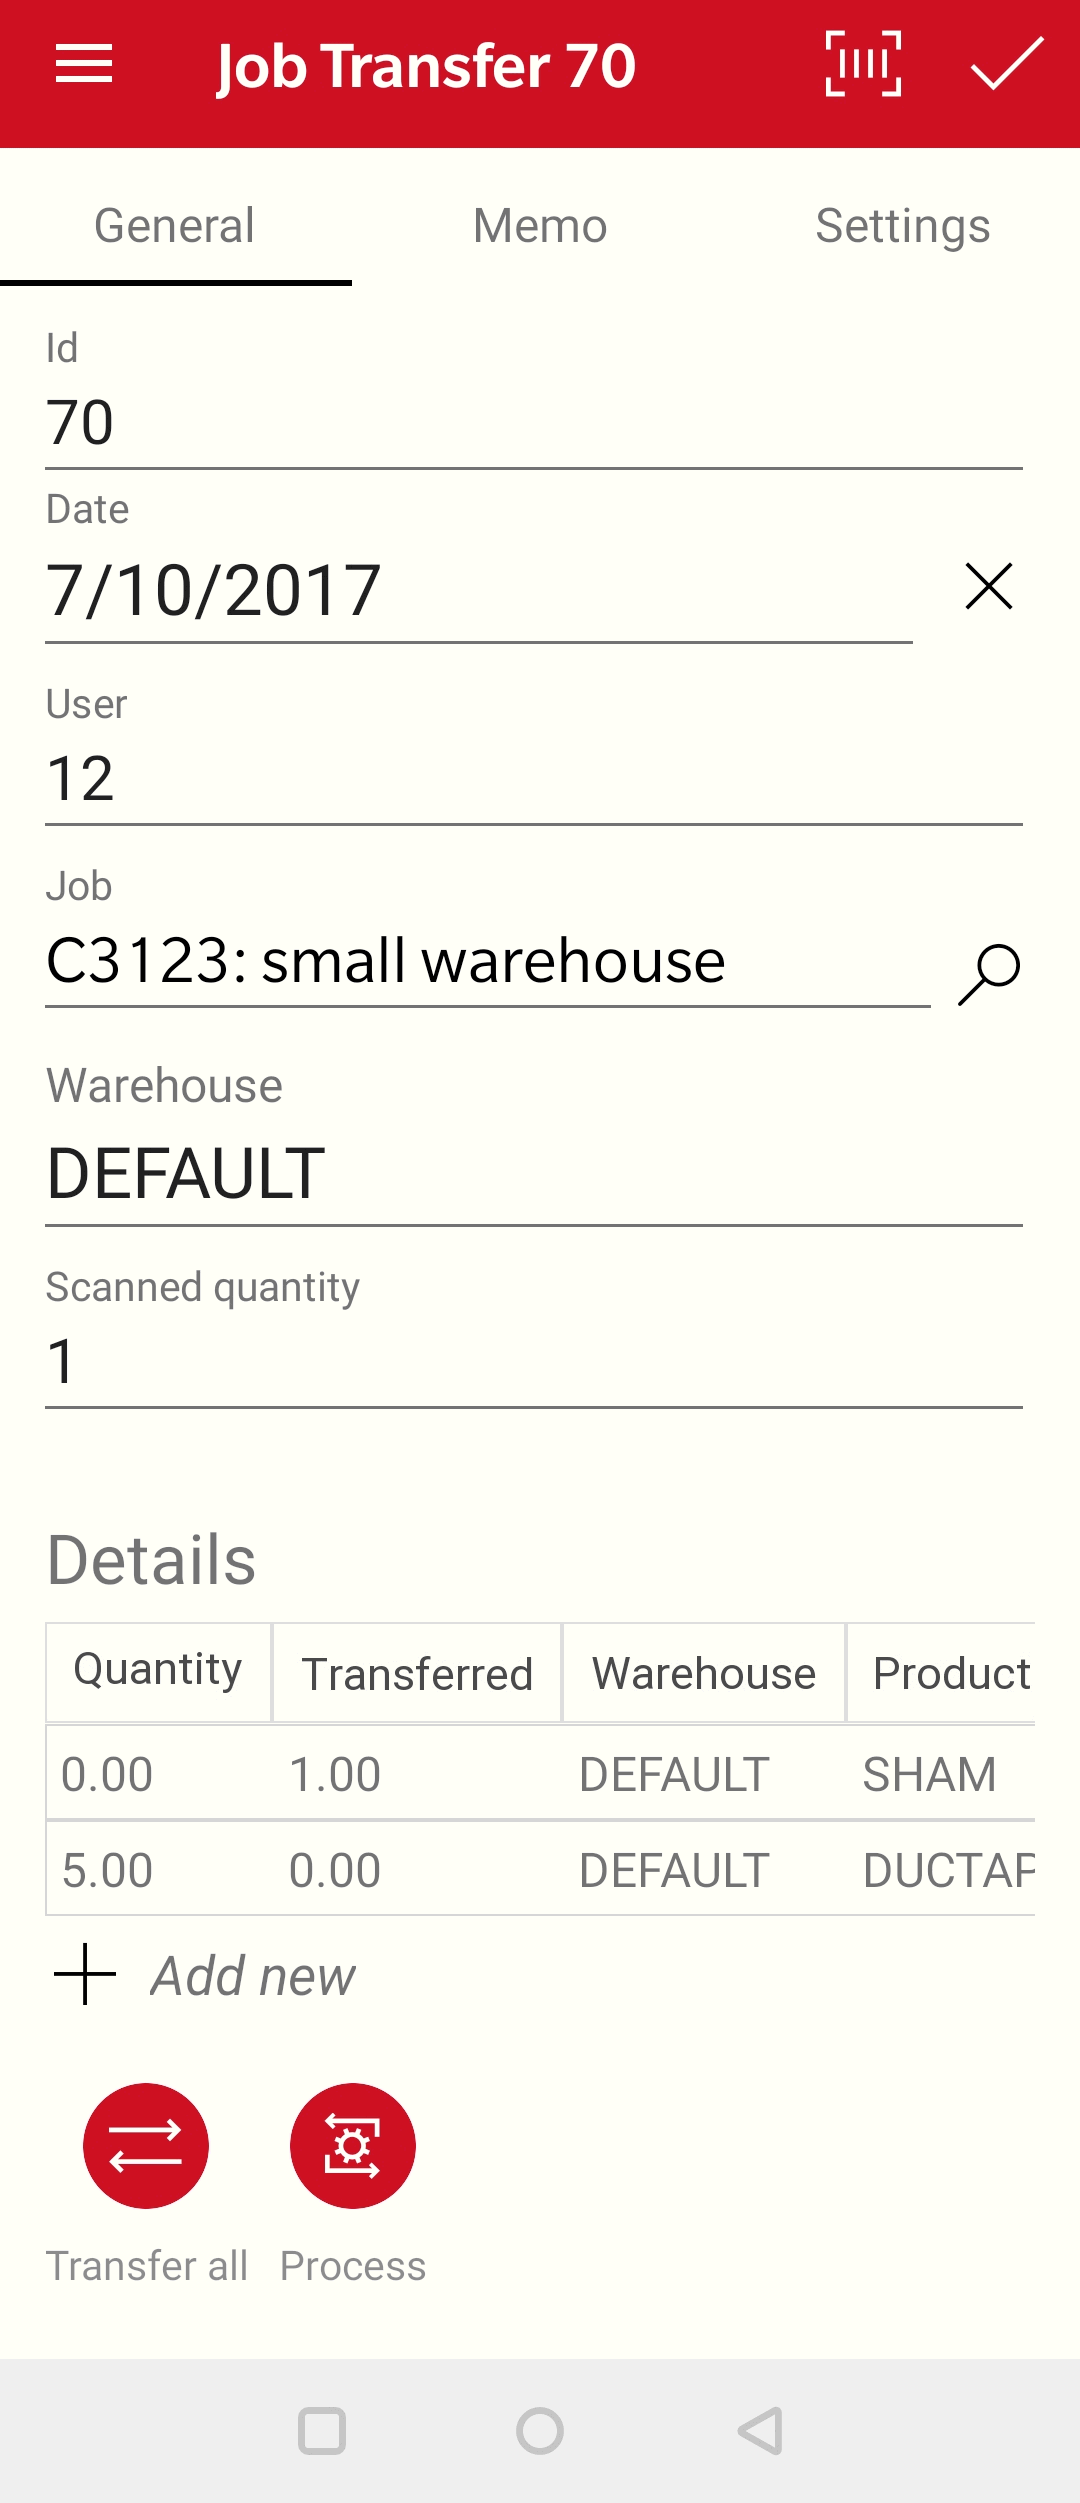
Product can be scanned to entered into a transfer ticket by scanning a UPC code or a printed label. The quantity can be incremented by subsequent barcode scans or by adjusting the quantity. Review [Inventory] MyInventory Scanner > Overview for laser scanner details.
The
quantities that are increased or decreased by this scanning action
are determined by the MyJobs > Transfer > Settings options as
shown below:
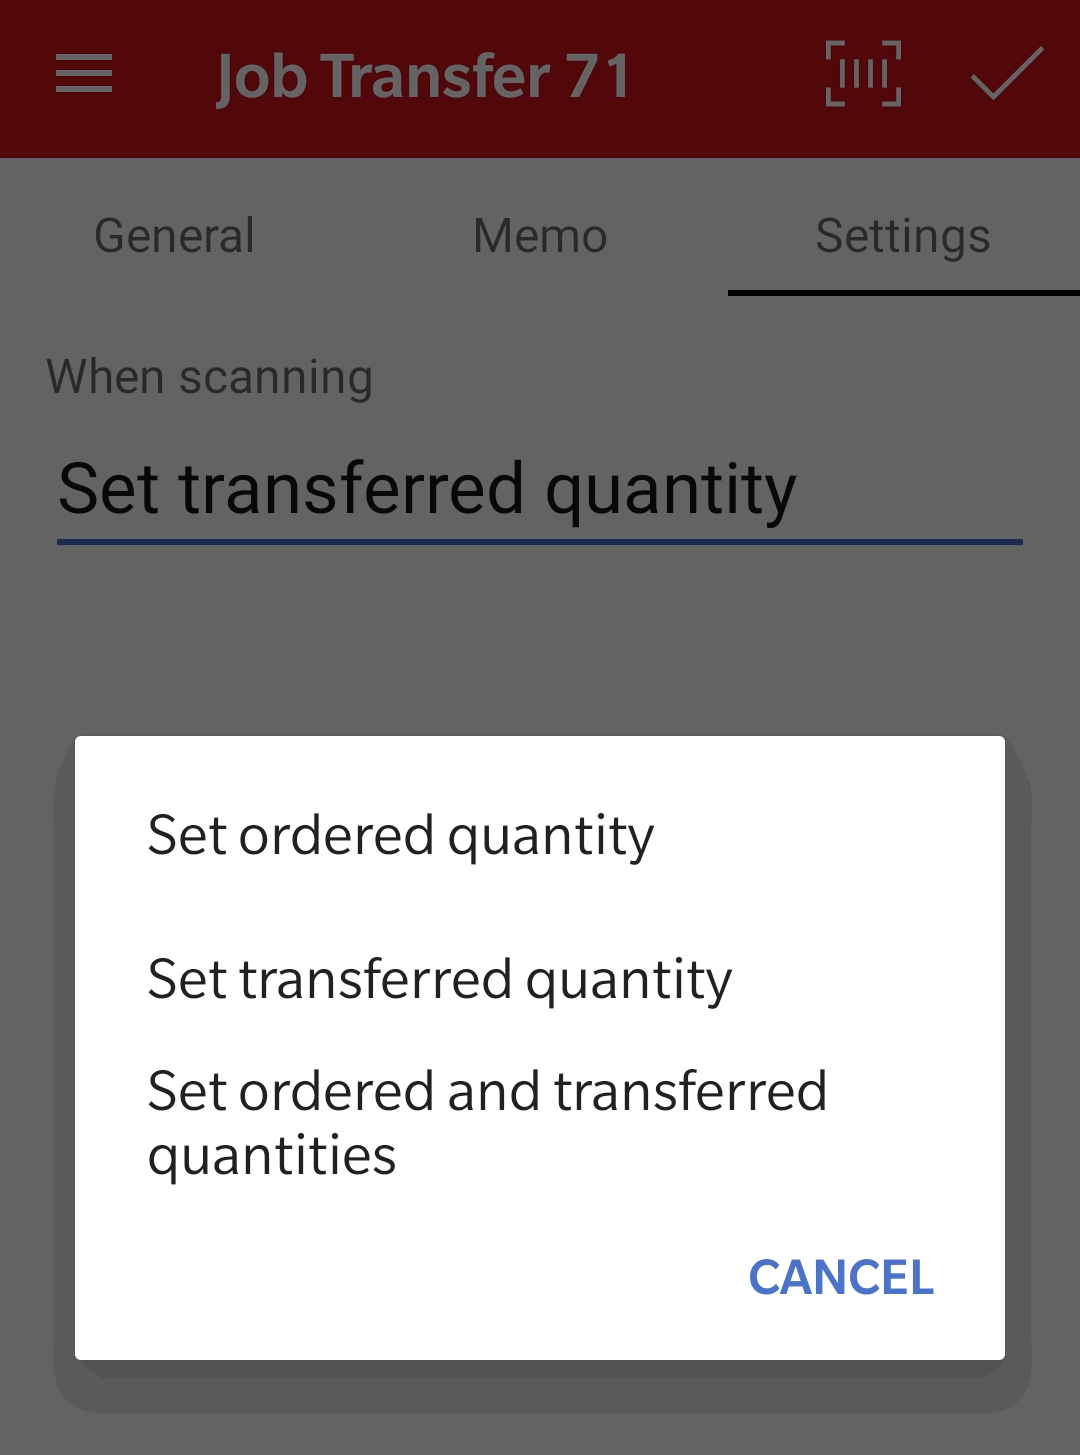
Set ordered quantity: This is the recommended setting when creating new tickets before the product is transferred to a job. A second step (B) populates the transferred quantity of a job transfer tickets in the future.
Set transferred quantity: Use this common option to set the transferred quantity within existing tickets.
Set ordered and transferred quantities: Select to create new ticket and ship orders at the same time.
Tap Memo to add notes to the transfer ticket.
Tap
Add new  to
add new products to the order.
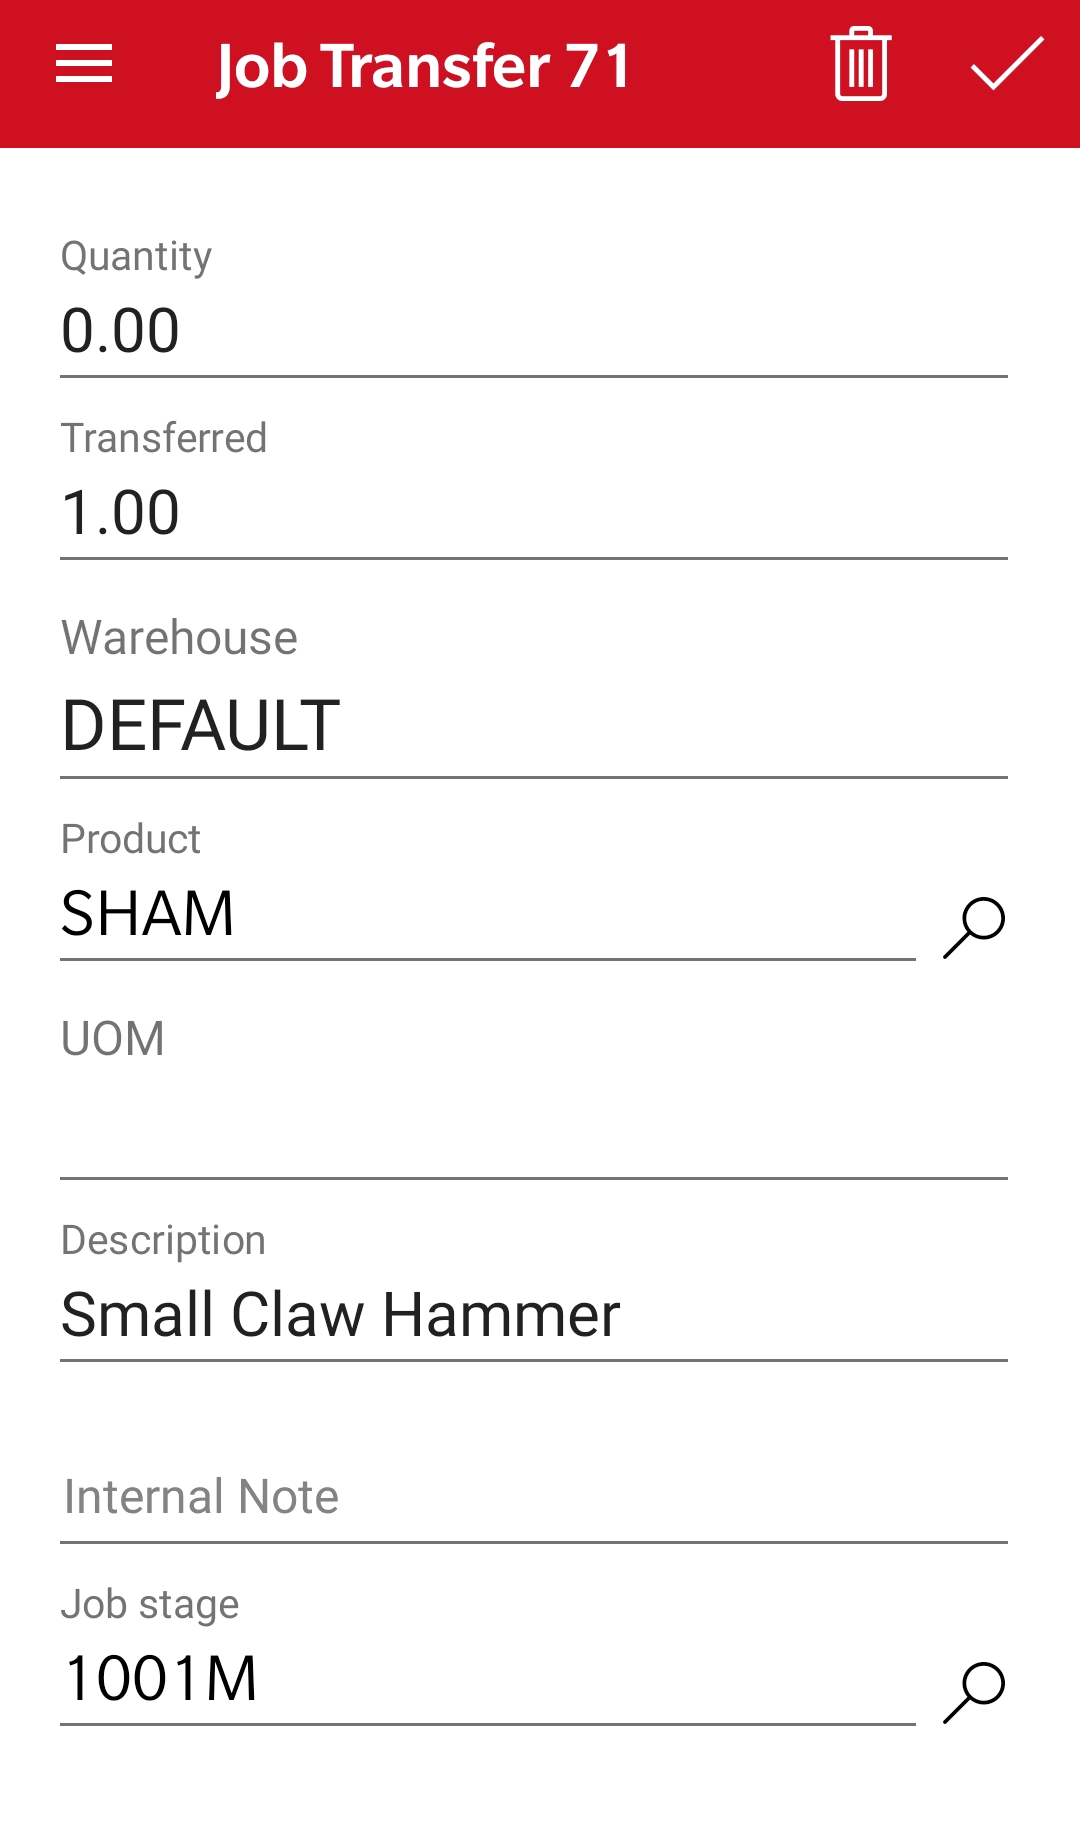
Enter Product IDs or scan the product's barcode as well
as adjust the Transferred and Ordered quantities. Tap save  to add these items and return to the sales order list.
