Establishing Tax Rates
It is important that the sales tax accounts are properly configured before the point-of-sale portion of EBMS is used to invoice customers. The user should determine which sales tax rates apply to the business before proceeding with this section. These rates must also be added to calculate use tax.
A sales and use tax rate record should only be added to EBMS for applicable states or provinces. Do not add rates into EBMS unless the company is required to collect the tax for the specific tax jurisdiction (sales tax nexus). A state sales tax table may require one or more sales tax rate records for a specific state.
Identify if a state is origin-based or destination based. Review Origin vs Destination Sales Tax for an explanation.
Perform the following steps to setup the sales and use tax within EBMS. Note that these accounts will be created by TaxJar if sales tax is calculated by the TaxJar SmartCalc too. Review TaxJar > Overview for details.
-
A liability G/L account(s) should be created for both sales and use tax before the tax rate record is entered. Go to Financials
> Chart of Accounts and create a sales and use tax liability account for each group of taxes. For example, create a single general ledger account if the sales tax collected includes both a state and county tax and both are paid to the same vendor. Repeat a single account for the use tax as well. Create multiple accounts if the tax is paid to different vendors. Review the Financials > Chart of Accounts > Adding General Ledger Accounts section of the main documentation for details on adding both a sales and use tax collected liability G/L account.
- Create a vendor record for the Tax Agency for the new sales and use tax. Go to to create a new vendor as shown below. Review [Financials] Vendors > Adding a New Vendor of the main documentation for details on how to create a new vendor
.
-
Go to Sales > Sales Tax > Rates to view the tax rate table as shown below. Steps #3 and #4 can be ignored if tax rates are calculated by the TaxJar sales tax subscription. Review TaxJar > Overview for details.
-
Click on the Edit menu and select New to create a new sales tax rates within EBMS and the following dialog will appear:
-
Enter a Des
c
ription of the sales/use tax that is being entered identifying the state and type of tax. The sales tax identification number can also be recorded within the Description field.
-
Enable the Print separately on invoice option to itemize this tax rather than combining with another tax rate. This option should only be disabled if multiple rates should be combined on the sales order or invoice. Edit the sales tax Label shown on the invoice if necessary.
-
Configure the Category settings. The Applies to: setting should be set to Country for a national sales tax, State if it is a state tax, County, City, or Zip. This setting will affect the other category entries. All category entries must be populated. Use the two-character abbreviation for the state entry. The county and city should not be abbreviated.
-
Configure the Rate Information.
-
Select the tax Rate Type:
-
Select the Flat Amount type for any tax that is based on quantity such as a fuel or FET tax. Review the Sales Tax > Calculating Fuel Taxes section for an example of a flat tax setup.
-
Select the Percentage type to calculate tax based on a percentage rate. This is the standard Rate Type for most sales tax settings.
-
Enter the Current
R
ate.
-
The Effective Date entry can be left blank unless the tax rate was changed within the past two years or a new rate takes effect in the future. Review the Changing Rates and other Settings section for more details.
-
The Maximum option only applies for percentage rate taxes. Review the Luxury, VAT and Sales Tax Minimums and Maximums for more details on the Maximum setting.
-
Choose a Sales Tax on Freightt setting.
-
Select Tax if there are any taxable items to charge sales tax on freight, if any taxable items exist on the sales invoice.
-
Select Pro-rate based on taxable items to pro-rate the sales tax calculation on the freight amount, based on the percentage of taxable items.
-
Select Never Tax to make all freight charges tax exempt.
-
Configure the Payment settings.
-
Enter the Sales Tax L
iability Account
. Click on the drop-down button to the right of the field to list all available sales tax general ledger accounts. These accounts are identified within the general ledger as accounts with a classification of Sales Tax. Review the Financials > Chart of Accounts > Chart of Account Folders section for more details.
-
Enter the Use Tax L
iability Account
. Click on the drop-down button to the right of the field to list all available use tax general ledger accounts. These accounts are identified within the general ledger as accounts with a classification of Use Tax.
-
Enter a vendor ID in the Tax Agency entry. The system will use this vendor ID when the sales tax is paid to the tax agency. This vendor must have the This vendor is a tax agency option enabled. Review Paying Sales and Use Tax for instructions to configure a vendor as a tax agency.
-
Choose a Payment Frequency.
-
Enable the Report gross sales from sales in states with no presence option to add gross sales from states with no sales tax liability. This option should only be enabled for the main tax table if recommended by your accountant. Do not enable this option for multiple tax rate records.
-
Click the N
ext button to continue and enter a unique Sales Tax ID.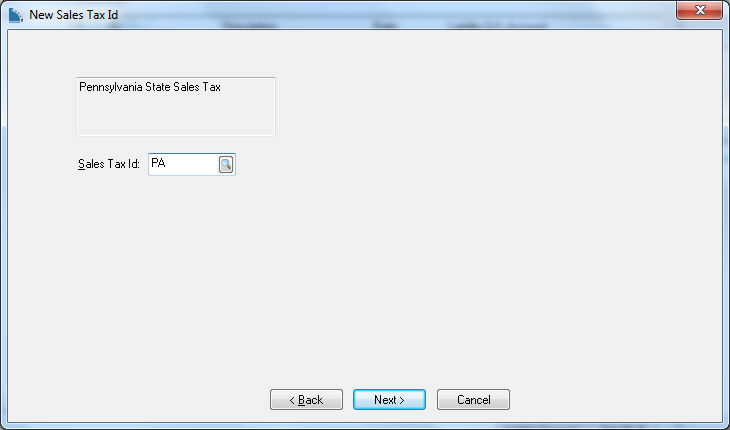
-
Click the Next button to continue.
-
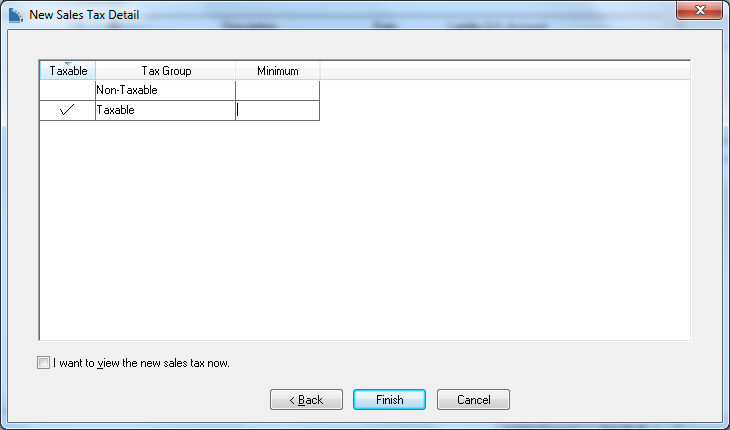
Each tax group must be identified as taxable or non-taxable. Enable the Taxable option to charge tax for the specific tax Group. Review Inventory Tax Group for more details on creating tax groups.
-
Click on the F
inish button to complete the new wizard.
Review TaxJar > Overview for a cloud based service to manage sales and use tax rates.