Click on the General tab of the customer or other account.
Click on the Contacts
tab to show the contacts list as shown below: Set the Contacts tab
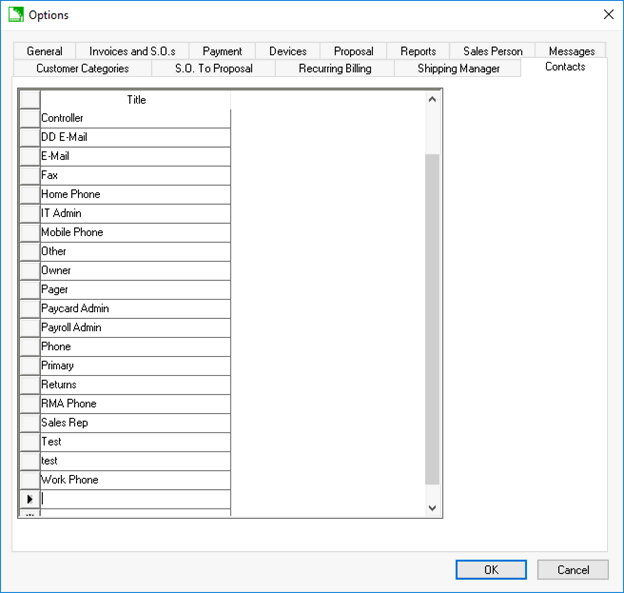
as the default tab to show contacts on the general tab rather than
the note. Review the Standard
Features > Account Tabs section of the Main documentation for
more details on defaulting a tab.
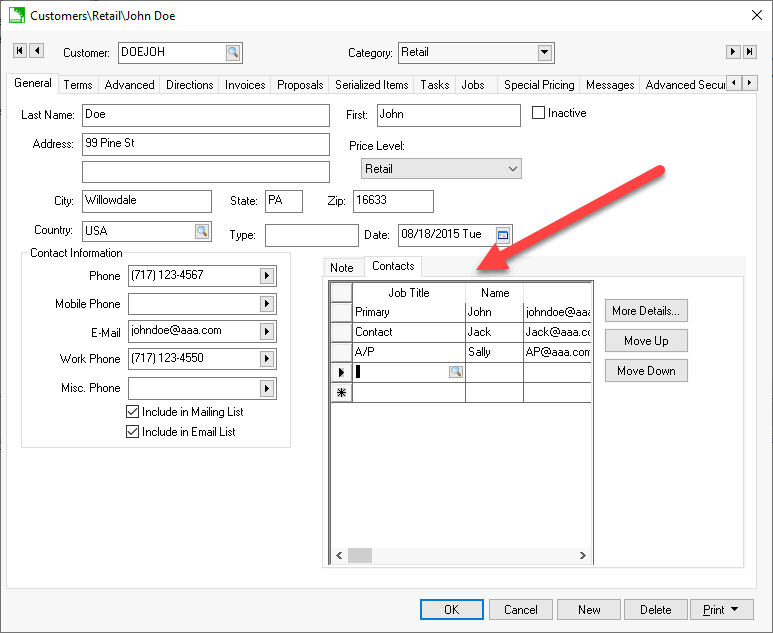
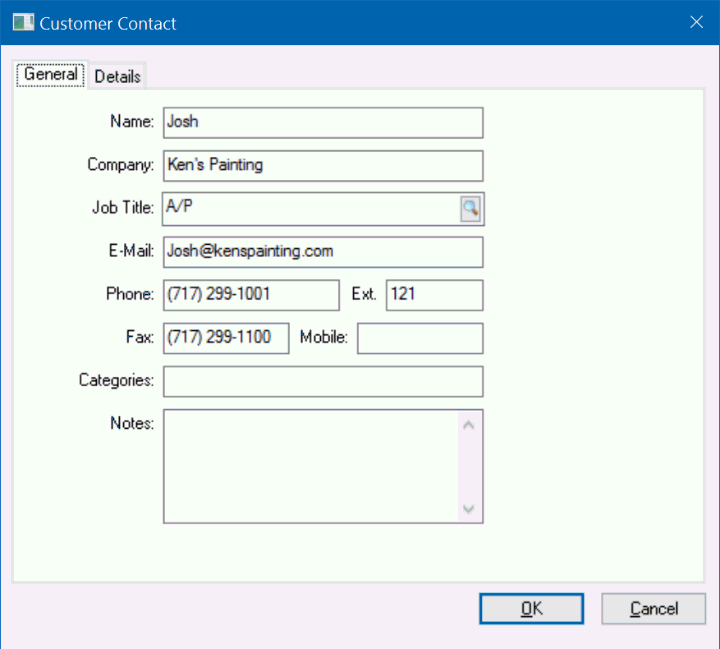
Basic contact information can be entered directly into the Contacts
tab. The order of this list can be changed by using the Move
Up / Move Down buttons. Additional information can be added
by selecting a contact and choosing the More
Details... button. Right-clicking on a contact and choosing
Create Email will launch a
new email in the default mail program of the computer
.