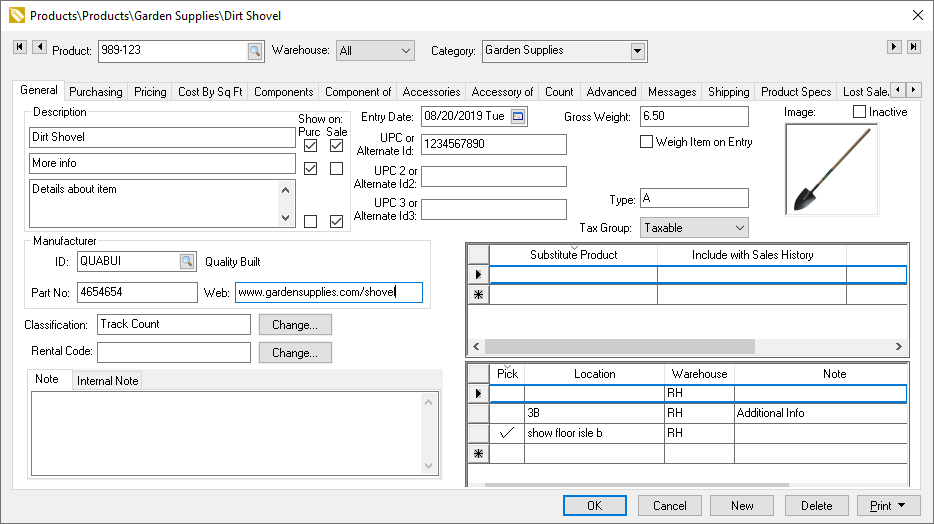
The Inventory Item record can record one or more images of the item. The main detail image is located on the General tab as shown below:
The Image can be added to the inventory item using one of the following methods:
Use a utility to import or export multiple images at one time by launching the Import/Export Images utility. Complete the following steps:
Copy the multiple images to a common directory such as C:\users\documents\graphics.
Rename the file name to match the inventory ID or UPC or Alternate Id code. Naming conventions for the import are not case sensitive. Example: 20prhp2430.jpg. Review [Sales] E-commrece > Creating Content > Template Options > Inserting Graphics into EBMS for more details on editing the image file.
Select from the Main EBMS menu to open
the following dialog:
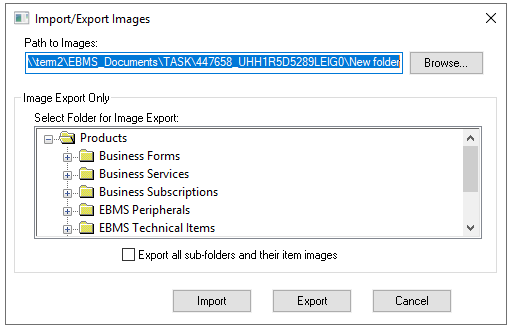
Set the Path to Images to the file directory used in step #1 and click Import. Use the Browse button to locate the graphics file that was created to temporarily store the image.
The process will move any graphics that were successfully inserted into an inventory item to the IMPORTED subdirectory and move any graphics that failed to be properly inserted into the FAILED subdirectory. These two subdirectories are created by the utility and may wish to be emptied if the backup graphics are not needed. Note that any graphics within the folder will overwrite any images that are already stored within the website tab of the inventory item.
Complete the following steps to export graphics:
Select a product folder for image export.
Enable Export all sub-folders and their item images to include all sub-folder products.
Click the Export button.
Repeat these steps for any additional graphics located in other file directories or other product categories.
Complete the following steps to individually add the Image to an inventory item:
Open the inventory item from the File > Inventory Item lookup list and click on the General tab.
Right click on the Image
graphics and select Insert Object
from the context menu as shown below:
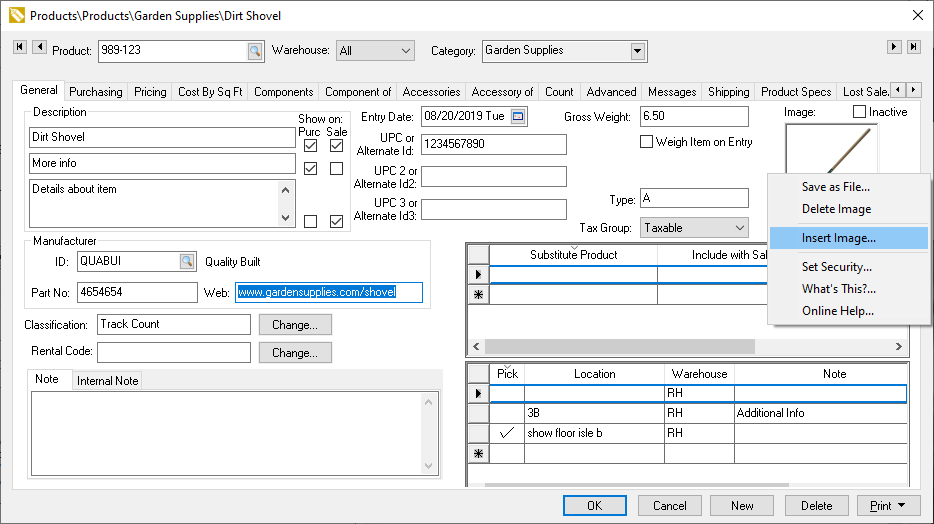
The following dialog will appear when you select the Insert Image option:
Select the graphics file to insert into the inventory item. The recommended graphics file types are as follows:
JPEG: recommended file type for photos
PNG: ideal for graphics and line art
GIF: recommended for animated graphics but cannot be used to print graphics within an EBMS report
Click the Open button to insert the graphics.
Repeat for additional inventory items.
Review more details on importing graphics within [Sales] E-commrece > Creating Content > Template Options > Inserting Graphics into EBMS.