Select the Vendor
option in the and enter the Vendor
ID of the vendor to whom you
wish to place the order. Only the items that have the vendor listed
on its vendor list will be displayed.
To automatically enter the recommended order amount
based on the Minimum Inventory
and Maximum Inventory fields,
click on the Default Orders
button. The Order Quantity
will be updated with the Order Amount
only if the Net Ordered (Count + Purchase
Orders - Sales Orders) amount is less than the Minimum
Inventory Amount. If Multiple Order
Amounts are less than or equal to Maximum
Inventory amount, the Order
Quantity will set to multiples of the Inventory
Amounts value. Click on the Clear
button to zero all Order Quantity
fields including the numbers created with the Default
Orders button.
The Order Quantity can be manually
adjusted to the desired order quantity. Order Quantities can be zeroed
if the user does not wish to order any additional inventory or the
Order Quantity can be manually
entered. Note that if list queries are changed to hide or display
different sets of inventory items, the Order
Quantity amount will not be lost even when the amount is not
shown on the displayed list.
Click on the Show items with order quantities button to list only the items that will be listed on the new purchase order.
Click on the Create
button and select Order. A Purchasing Vendor
dialog will appear to verify the vendor.
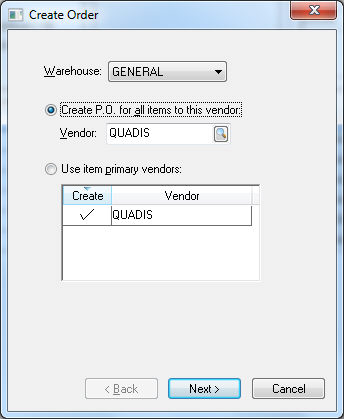
Select the Create P.O. for all items to this vender option to create a single P.O. for all items or select the Use item primary vendors option to create multiple purchase orders based on the primary vender setting of the item. Review the Purchasing Tab section for more details on the primary vendor.
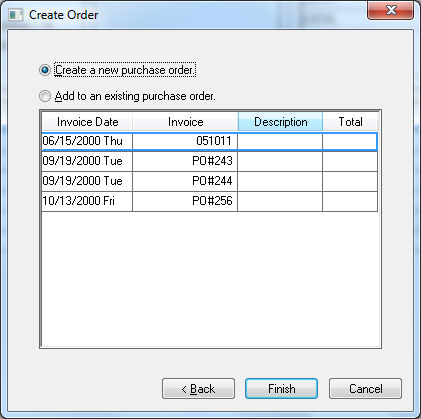
Click the Next button. A purchase order list
will appear if POs already exist for the selected vendor as shown
below:
The Create Purchase
Order wizard can check special order items for this vendor.
Enable the Inventory > Options
> General > View when creating purchase order option
to check all special orders within this wizard as shown below. Review
the Special
Order and Drop Shipped Items section for more details on special
order items.
Click Next
to create a purchase order. The following dialog will appear:
Click Yes to view the newly created purchase order and the purchase order window will open. At this time you can print or fax the purchase order to the vendor or contact the vendor by telephone and verify the pricing.