Review Using Product Codes for Non-Inventory Items > Service Items for more details about creating new inventory items classified as "service".
Associate a task to the service code to manage the labor using a task or MyTime by completing the following steps:
Enter the number of Hours per unit. This value should equal the number one (1) unless the quantity of this service code does not equal the number of hours.
Set the Task Type. Review [Labor] Getting Started > Creating Task Types and Defaults for details on creating and using task types.
Enable the Enter task for this item option on the general tab. The previous Hours per unity and Task Type settings have no effect if this option is disabled.
Review [Labor] Tasks > Creating Tasks > Attaching a Task to a Service Item for more instructions on these settings.
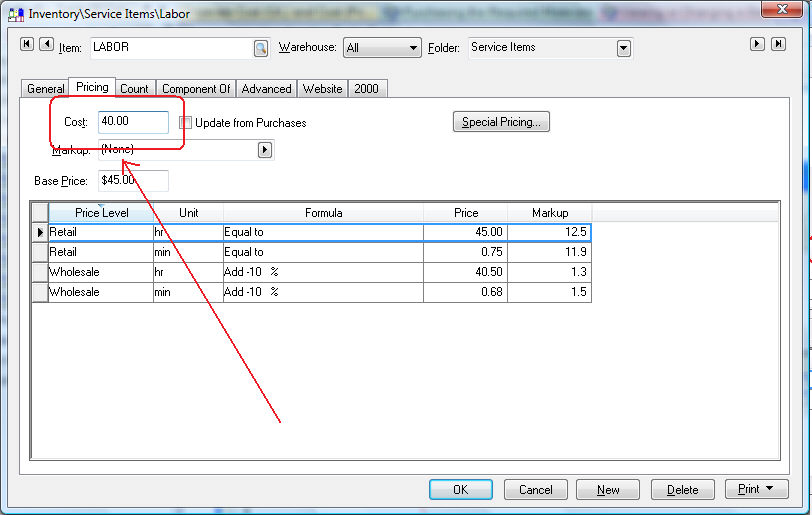
Click on the Pricing tab of the new service item and
enter the hourly labor cost into the Cost entry.
Click on the Count tab to create multiple units of measure
options. This allows the user to use other labor units of measure
such as hr – hours, min – minutes, and/or day
– for days. Complete instructions below:
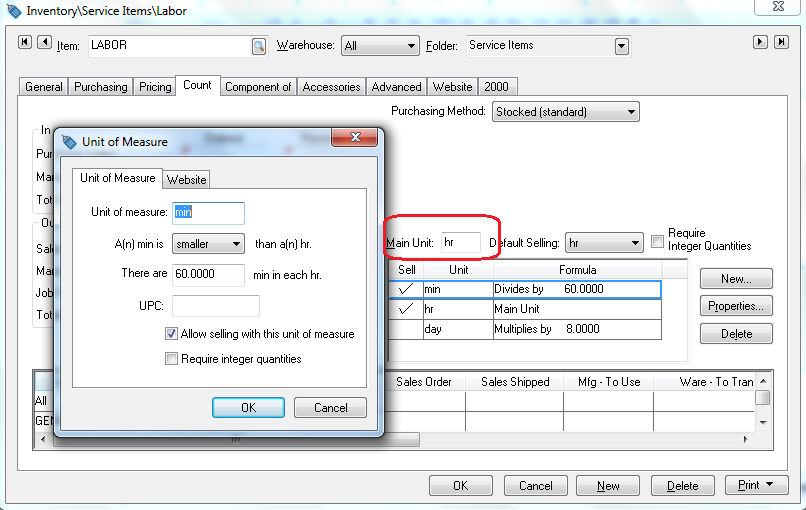
Enter hr into the Main Unit entry field.
Click on the New button to open the new Unit of Measure dialog and enter the following information:
Enter min in the Unit of Measure entry.
Set the multiplier option to smaller.
Enter There are 60 min in each hr value.
Click the OK button to save and repeat for any additional user of measure settings. Review the Tracking Counts > Unit of Measure > Unit of Measure Overview section for more details on inventory unit of measure settings.
Click on the Advanced tab of the labor inventory item.
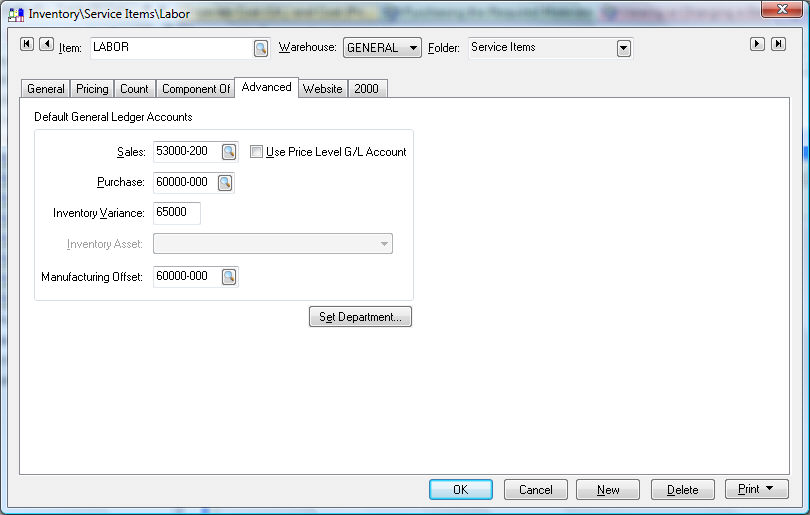
The Sales general ledger account can be ignored if this item is not sold.
Set the Purchase and Inventory G/L accounts. The inventory debit transaction created for the labor item consists of the Inventory Variance general ledger code and the last 3 digits of the Purchase G/L code. Review the Tracking Counts > Inventory Variance section for more details regarding the inventory variance account.
Enter the Manufacturing Offset general ledger account. The credit side of the transaction will be created using this account. No general ledger account balances will be affected if the Manufacturing Offset equals the Inventory Variance and Purchase department general ledger accounts.