Open a purchase order or unprocessed invoice to be paid, or create a new vendor invoice. Enter the vendor's invoice number and other invoice information before continuing. Review the Entering a New Vendor Invoice section for more details on entering a new invoice.
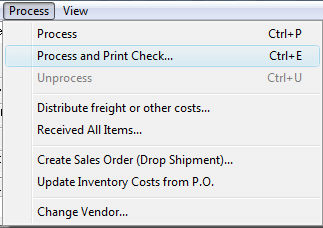
Select Process >
Process and Print Check option from the expense invoice menu
as shown below: To print a quick check before finishing entering the
details in the invoice, generate a down payment. Review Down Payment
on an Invoice or Sales Order for instructions on printing a check
but not processing the invoice.
Complete the Quick Check settings shown below:
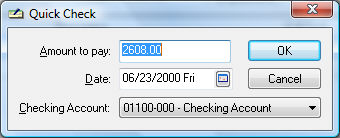
Enter the total down payment in the Amount to pay field.
Verify the payment Date
and Checking Account and click OK
and the following dialog will open:
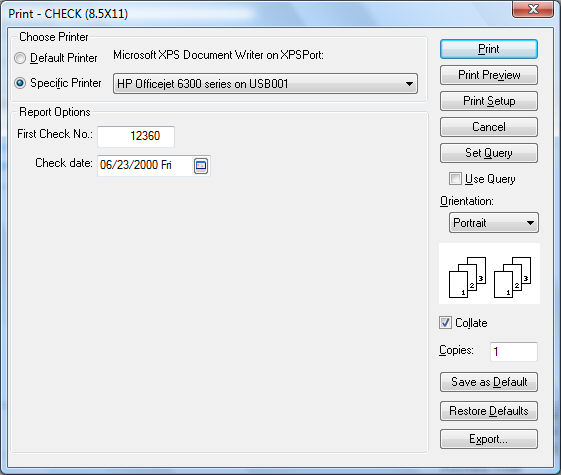
Verify that the First Check No matches the first preprinted check document. Change check number if necessary.
Verify that the proper printer is selected and select Print to print the check.
A dialog will appear to verify that the check was printed properly. Click Yes if the check was printed properly and the down payment will be processed, or click No if the check did not print properly. If No is clicked, the Quick Check process will be aborted, as well as the invoice process.