The Server Installation and Setup is an optional module. Review the Server Manager > Optional EBMS Modules for details on how to identify or add optional modules.
The EBMS Server software is recommended for all multiple user licenses. This option is not useful in a single user version of the software.
The EBMS Server is an application that runs as a service on a Windows based server operating systems. All file access functions are managed by the server software running on the application server. This allows the clients to request specific information from the server rather than opening, sorting, and indexing the files individually.
EBMS client/server offers many advantages over the standard networked model of database access. Visit the EBMS Server Module page for more details on this option.
The Windows server machine that is running EBMS Server should be dedicated to data sharing and should not be used as a workstation.
The instructions in the following section are only applicable to install the Server version of EBMS. Review the Installing EBMS on a Network section to setup EBMS in a peer environment (EBMS Server is not installed).
Complete the following steps setup EBMS client server:
Complete the following steps to create a backup of your EBMS files.
Log out of EBMS. All users must be logged out of EBMS until the update is complete, this includes all third party software that connects to EBMS data (i.e. UPS WorldShip).
Log into the EBMS data server (computer where the data is stored) as administrator.
Create a backup copy of your EBMS files.
Disable all automated backup software.
Complete the following steps to install Crystal Reports:
Insert the EBMS DVD into the computer.
Navigate to My Computer and locate the DVD drive. Right click on the DVD drive and select Open or Explore.
Open the folder called “Crystal Reports for .NET Framework 4.0”.
Double-click the “CRRuntime_32bit_13_0_?” file inside to run the Crystal Reports Installer.
Click Next through the Installer. This may take 5-10 minutes to complete.
Click Finished to complete..
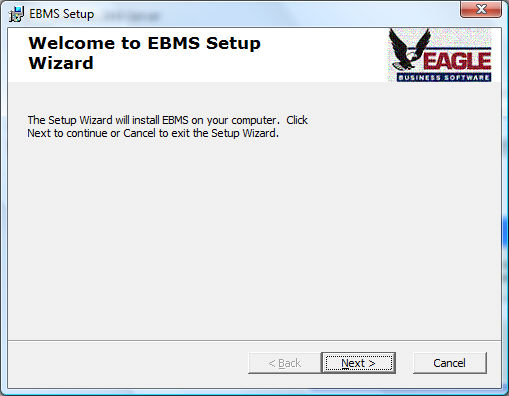
Complete the following steps to run the software installation wizard:
In the same folder on the EBMS DVD, double-click the Setup file to open the following wizard:
Select Next to begin the wizard.
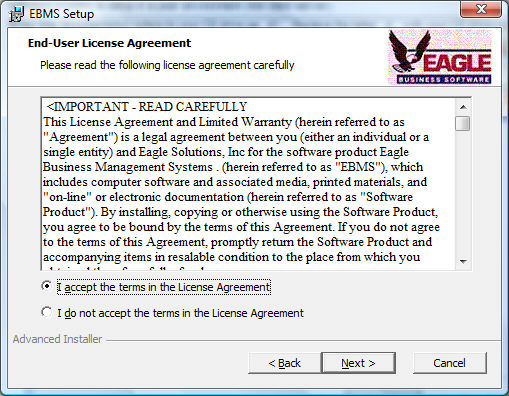
Read and accept the terms in the license agreement and click Next.
Enter the Serial Number on the label on the outside of the EBMS DVD and click Next to open the following dialog:
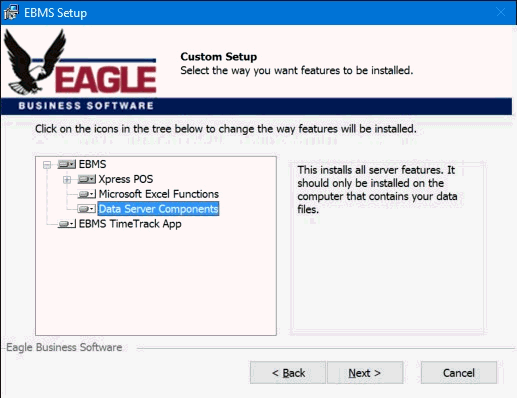
Select the Data Server Components icon and click Next to open the following dialog:
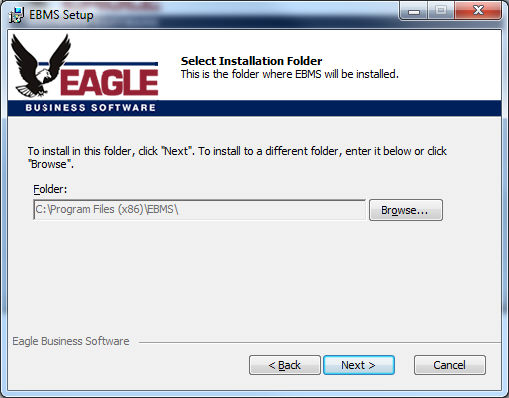
Click Next and then click Install to run the installation.
Click Finished.
Complete the following steps to setup the company within EBMS:
Select Start > All Programs > Eagle Business Management > Company Administrator from the computer. The following dialog will appear:
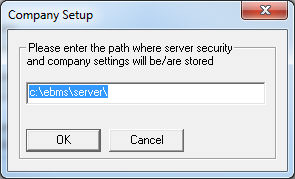
Enter a path to store security and company settings. The path should then be secured with windows network security to prevent unauthorized persons from accessing passwords and security information. Note that the "System" account will need full access to this folder. Click OK to create the folder and the following dialog will appear:
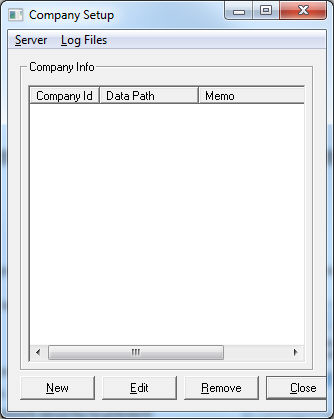
Click New to connect to a Data Path..
Select one of the following options:
Select Connect to an existing company to connect to a company that already exists.
Select New Company to create data for a new company.

Enter a three character Company ID for the company.
Enter the Data Path for the company data. Note that redirected drive letters should not be used. Use the drive letter that represents the local drive ("My Computer" shows these drives as "Local Disk"). This path is where the company data either is or will be stored. Be sure to include these folders in your backup.
Click OK to complete the server setup. Repeat these steps for all additional company data sets.
The EBMS program will need to be installed and updated on all of the workstation computers. Complete one of the following options to re-install EBMS on the workstations:
A. Run the updatecs.exe included on the EBMS CD.
OR
B. Install the EBMS setup on the workstations the same way it is installed on the server, except do not select the "EBMS server" option in step 6.
Complete the following steps to re-add the EBMS companies to the updated workstations:
Start the EBMS program and enter the correct User Name and Password.
Select New Company from the Company Field drop down menu.
Enter the computer name of the EBMS server into the Server Name column. EBMS will display all of the companies entered in Company Administrator when the server name is entered.
Select the desired company and click Finish to open the desired company.
This optional EBMS module is not included on all versions of the EBMS software. Review the Features > Optional EBMS modules within the main software manual for specific instructions used to identify or add optional modules.