The EBMS ecommerce website contains adminitration tools to assist in editing static information (information not included in EBMS) including about, policies, and contact pages. These administration tools also include editing meta tags and page titles as well as creating content for the website blog. Complete the following steps to access the administration portal:
Log into the administration portal by entering admin.websitename.com. For example if the e-commerce site URL is www.QualityHardware.com then enter admin.QualityHardware.com in the browser to open the administration portal as shown below:

Enter the Username and Password and click on the Sign In button to access the administration tools.
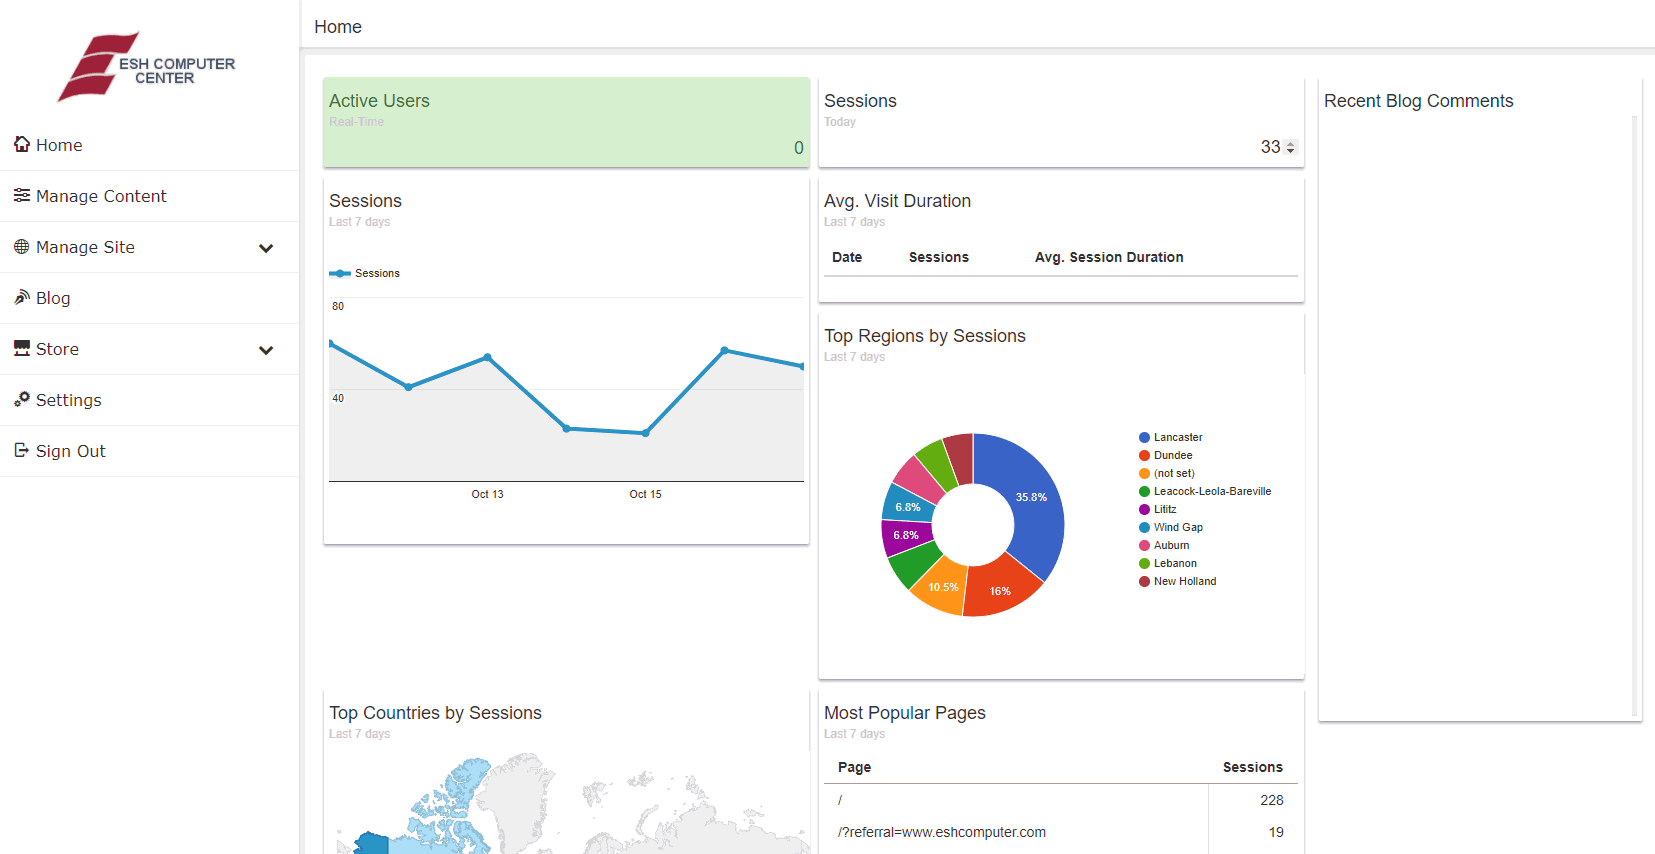
The main screen of the admin displays statistics for the website's Google Analytics. Google Analytics must be set up on the website for this to work.
Select one of the administration tools on the left side menu.

Manage Content - is used to edit the static pages such as the home page, about us, and policy pages. Review the Creating Website Content > Editing Static Pages section for more details using the web editor.
Manage Site - is used to manage Redirects and Site Index.
Blog - is used to create and manage blog posts. Review the Blog section for details on creating a blog post.
Store - can track activity on an e-commerce website.
Store SEO - is used for search engine optimization. Review the Search Engine Optimization section for more details on entering SEO information for store items.
Open Sessions - is used to check how many users are currently browsing the website.
E-Commerce History - can track the amount of visitors, logins, and new accounts on the website. Review the E-commerce History section for more details on viewing E-Commerce history.
Abandoned Carts - shows any customers who had items in their shopping cart but did not complete the purchase.
Settings - is where the user can change the username and password of the administrator, among other settings