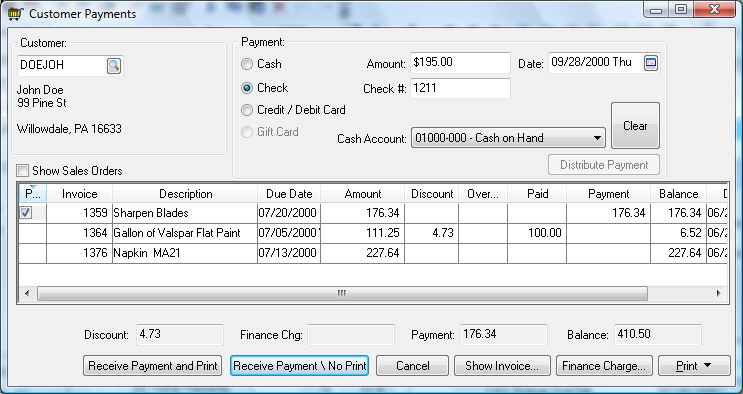
Enter a Customer ID to list all the outstanding invoices for a specific customer. The Customer ID field will default to the current customer highlighted within the customer list. The Discount, Overdue, and Balance due amounts for the customer are displayed below the invoice list.
Select the Payment method used by the customer. Additional information is required based on the Payment option.
Cash: Enter the Amount of the payment into the Amount entry. Enter the amount Received to calculate the amount of the Change.

Check: Enter the Amount of the check and Check # as shown below:

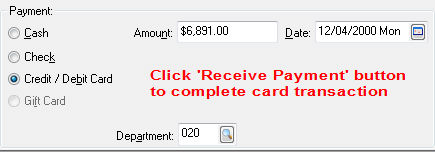
Credit / Debit Card: Enter the Amount of the payment and click on the Receive Payment button. The payment card entry will appear. Review the Payment Entry Dialog section for more details on the payment card entry screen.

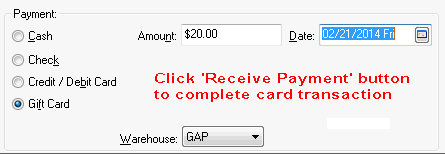
Review the Point-of-Sale > Payment Card Processing section for more details on processing credit cards.Gift Card: This option requires the integrated Payment Card module. Review the Gift Cards section for more details. If the Gift Card option is enabled, Enter the Amount of the payment and click the Receive Payment button. The payment card entry will appear. Review the Gift Cards > Paying Using Gift Cards section for details on the payment card entry screen.

Enter the Date the customer payment was made. This date defaults to the present date but can be changed by clicking on the down arrow button and selecting a new date from the calendar.
The Cash Account will default based on the Payment option. Review the Customer Payments > Cash Accounts, Deposits, and Reconciling Cash section for more details on the cash account.
Enable the Show Sales Orders option to list sales orders. Only outstanding processed invoices will be listed if this option is disabled.
All payments must be applied to selected invoices. Customer payments are always associated with individual invoices. If a customer is making a general payment that is not directly associated with an invoice, apply the payment to the oldest invoice. This process can be done by the software or manually selected by the user. Disable the Customer Payment: Automatically Distribute option in Sales > Options > Payments tab to disable the feature within EBMS to automatically distribute the payment amounts to each invoice. Review the Payment Options section for setting details. Note that credits will be selected first and then the invoices if the software automatically distributes the payment. Sales orders will be selected last if the Show Sales Orders option is enabled.
Invoice selection can be changed by clicking on the Pay column with the mouse or pressing the space bar on the keyboard. Use the Clear button to clear all selected invoices.
The Payment amount will default to the balance of the invoice unless the payment amount does not cover the balance of the invoice. The Payment amount can be changed by the user.
The Discount and Overdue amounts can be changed at will before the invoice is marked paid. The discount amount will be calculated automatically based on the customer's discount terms unless the discount was entered manually by the user. The discount is calculated based on the payment Date entered on the upper part of the Customer Payments window. The Overdue amount is calculated when finance charges are processed. Review the Customer Finance Charges section for more details.
