Go to tab as shown below:
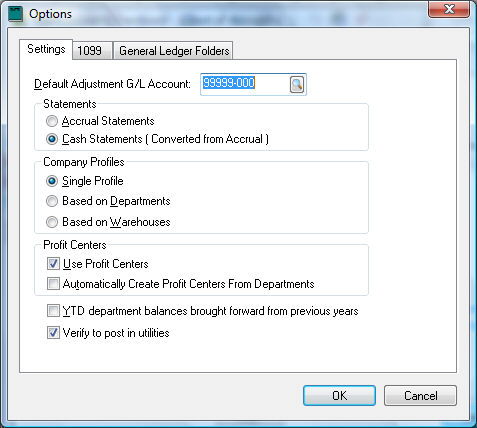
Enable Use Profit Centers option. If departments have been created and the Profit Centers are to be the same as departments, enable the Automatically Create Profit Centers from Departments option and click OK.
Go to menu option if the Automatically Create Profit Centers from Departments option is disabled. Go to , open a department and click on the Profit Center tab if the option is enabled.
Skip to step 7 if the Automatically
Create Profit Centers from Departments option is enabled. Otherwise
click the New button at the bottom of the window.
The following window will appear: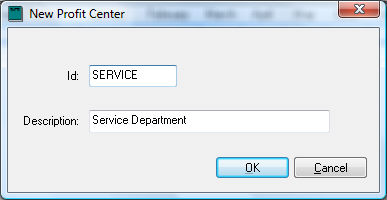
Enter the ID of the new Profit Center.
Enter the Description of the new Profit Center and click OK.
The main profit-center window will reappear with the
new Profit Center selected but the list may be blank.
Complete one of the following 3 options to populate the allocation ratio percentage for each revenue and expense accounts. Note that balance sheet accounts (asset, liability and equity accounts) can be ignored.
Launch the Add By GL Code wizard by clicking on the Wizard button on the lower right of the dialog to open the following dialog:
Enter the range of G/L Codes. The Filter can be used to query a subset of GL accounts. In the example above, all the accounts will be added to the profit center allocation table that have a suffix of -010. Enter a Percentage of 100 and click OK. This utility will add all the direct expense accounts. Review Allocating Indirect Expenses to a Profit Center for details on adding indirect expense ratios.
Launch the Copy from One Year to Another wizard by clicking on the wizard button to copy the GL account ratios from another year.
Manually enter the ratios for each account and click OK. Review Allocating Indirect Expenses to a Profit Center for detailed instructions on entering allocation percentages per profit center.